

The smell of sweet sugar floss always transports me back to childhood fairs, that pure, unadulterated joy. I’ve always wanted to capture that whimsical essence in a dessert, and let me tell you, this homemade cotton candy ice cream totally nails it.
I remember the first time I saw cotton candy being spun, mesmerized by the delicate threads forming a cloud of pure delight. There’s just something magical about it, isn’t there?
Bringing that magic home has been a dream, and with my trusty machine, it’s easier than you’d think to whip up something truly special. If you’ve been curious about the possibilities, you might love exploring my classic Ninja Creami vanilla ice cream too.
What You Need to Make This Recipe
To create this vibrant treat, you’ll want to gather a few simple things. The cotton candy ice cream base really shines with a good quality heavy cream for that luxurious texture, and don’t skimp on the cotton candy flavoring – it’s key to capturing that authentic taste. I’ve found that using a touch of food coloring helps achieve that beautiful swirl, just like the classic fairground treat, making every scoop a delight. We’ve even used similar principles when making my cookies and cream ice cream.
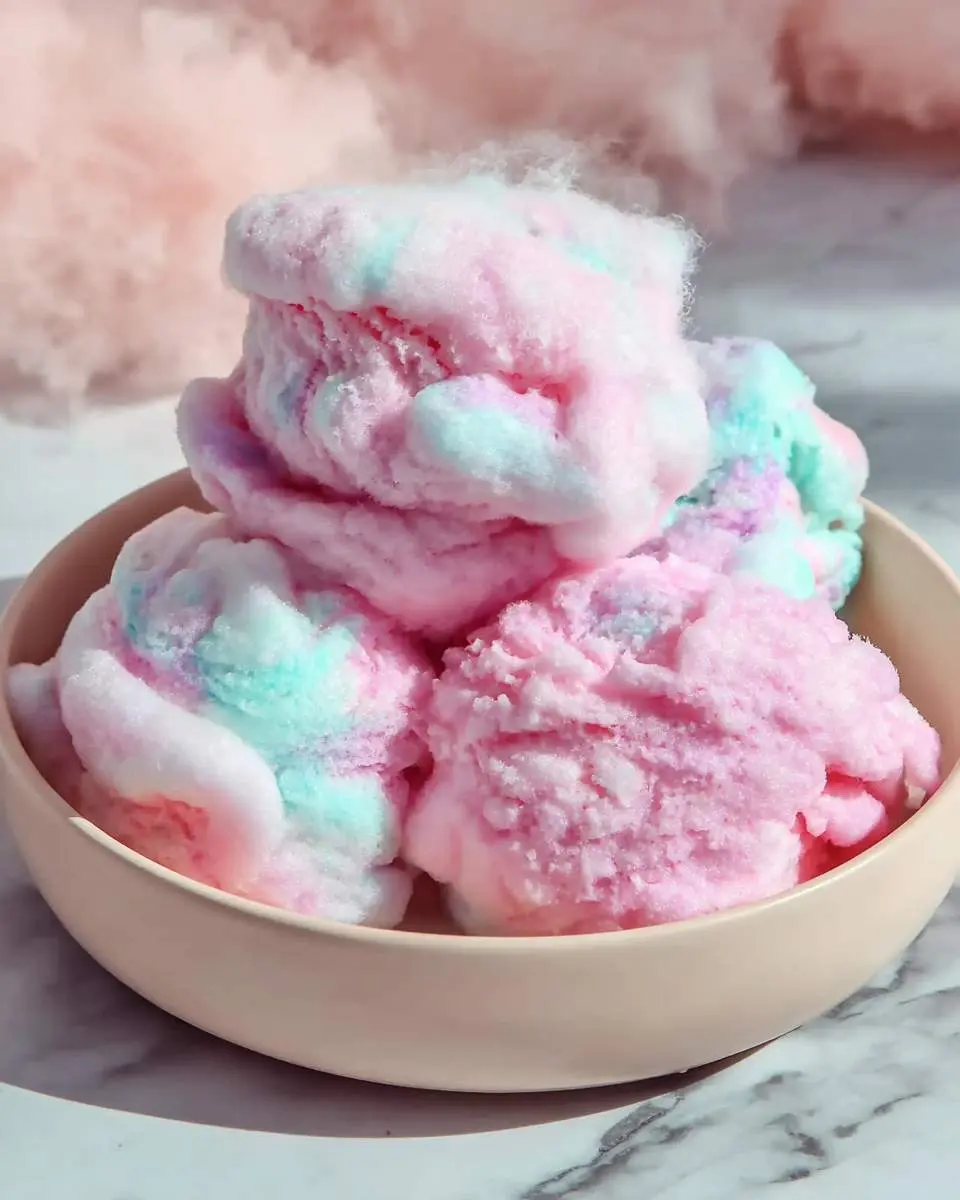
How to Make Cotton candy ice cream
Making this feels less like cooking and more like conjuring up a little bit of magic in the kitchen. First, you’ll mix your base ingredients until they are smooth, then you’ll divide it into separate bowls for coloring, watching the vibrant pink and blue hues bloom in the cream. After a good chill, it’s off to the machine, and as it churns, you’ll hear that satisfying whir and watch as it transforms into a light, airy dessert right before your eyes. It always reminds me of the fun I had making my homemade cake batter ice cream.
Pro Tips
Getting that perfect texture and flavor for your cotton candy ice cream is all about a few key details.
Tip 1: Always make sure your base is thoroughly chilled before churning; this helps create the smoothest, creamiest result by allowing the fat to firm up properly.
Tip 2: When adding the cotton candy flavoring, start with a little and taste as you go; you want that distinct flavor without it becoming overpowering.
Tip 3: Don’t be afraid to swirl your colors gently at the end, just before freezing, for that beautiful, whimsical marbling effect; overmixing will just blend them into a dull purple.
My Secret Trick: For an extra boost of authentic flavor and a fun texture, fold in a few pieces of actual cotton candy during the last few minutes of churning, or right before serving; they’ll melt into a delicious surprise.
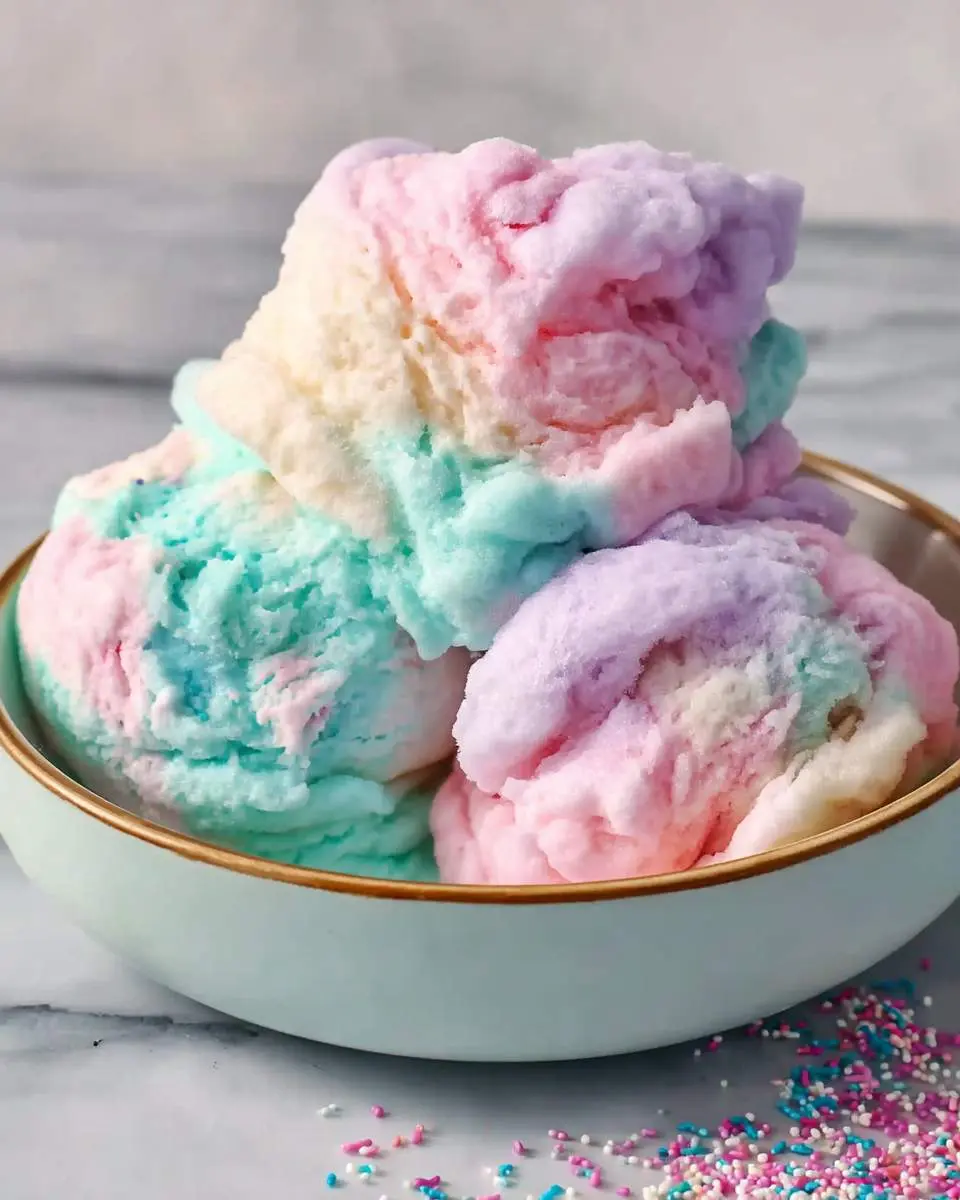
How to Store Cotton candy ice cream
- Store any leftover ice cream in an airtight container in the freezer. This prevents ice crystals from forming and maintains its creamy texture.
- It will stay wonderfully delicious for up to 2-3 weeks in a well-sealed container. Beyond that, the quality might start to decline slightly.
- Before serving again, if it’s too hard, let it sit on the counter for 5-10 minutes to soften slightly, or use your machine’s ‘re-spin’ function if you have one, for optimal creaminess.
Nutritional Benefits
While this cotton candy ice cream is definitely a treat, it’s also a fantastic way to enjoy a dairy-based dessert, providing a good source of calcium and some protein from the milk and cream. It’s a joyful indulgence that brings smiles, and sometimes, happiness itself is a wonderful benefit!

FAQs
Can I use store-bought cotton candy as an ingredient?
Absolutely! Adding pieces of actual cotton candy at the very end of the churning process, or as a topping, is a fantastic idea. It adds a delightful, melt-in-your-mouth texture and reinforces that classic carnival flavor. Just be aware it might dissolve quickly.
What if I don’t have a specific cotton candy flavoring?
You can try using a mix of vanilla extract and a tiny hint of raspberry or strawberry extract to mimic the fruity, sweet notes often found in cotton candy. The visual appeal with food coloring will still make it feel very authentic and fun.
Why is my ice cream not as fluffy as cotton candy?
While we aim for an airy texture, it won’t be exactly like spun sugar. Ensuring your base is very cold before churning, and not overfilling your machine, helps incorporate air for a lighter result. The main goal is that whimsical flavor.
Can I make this dairy-free?
Yes, you can! Substitute the heavy cream and milk with full-fat coconut cream and a plant-based milk. The texture might be slightly different, but the fun, sweet taste of cotton candy ice cream will still shine through beautifully.
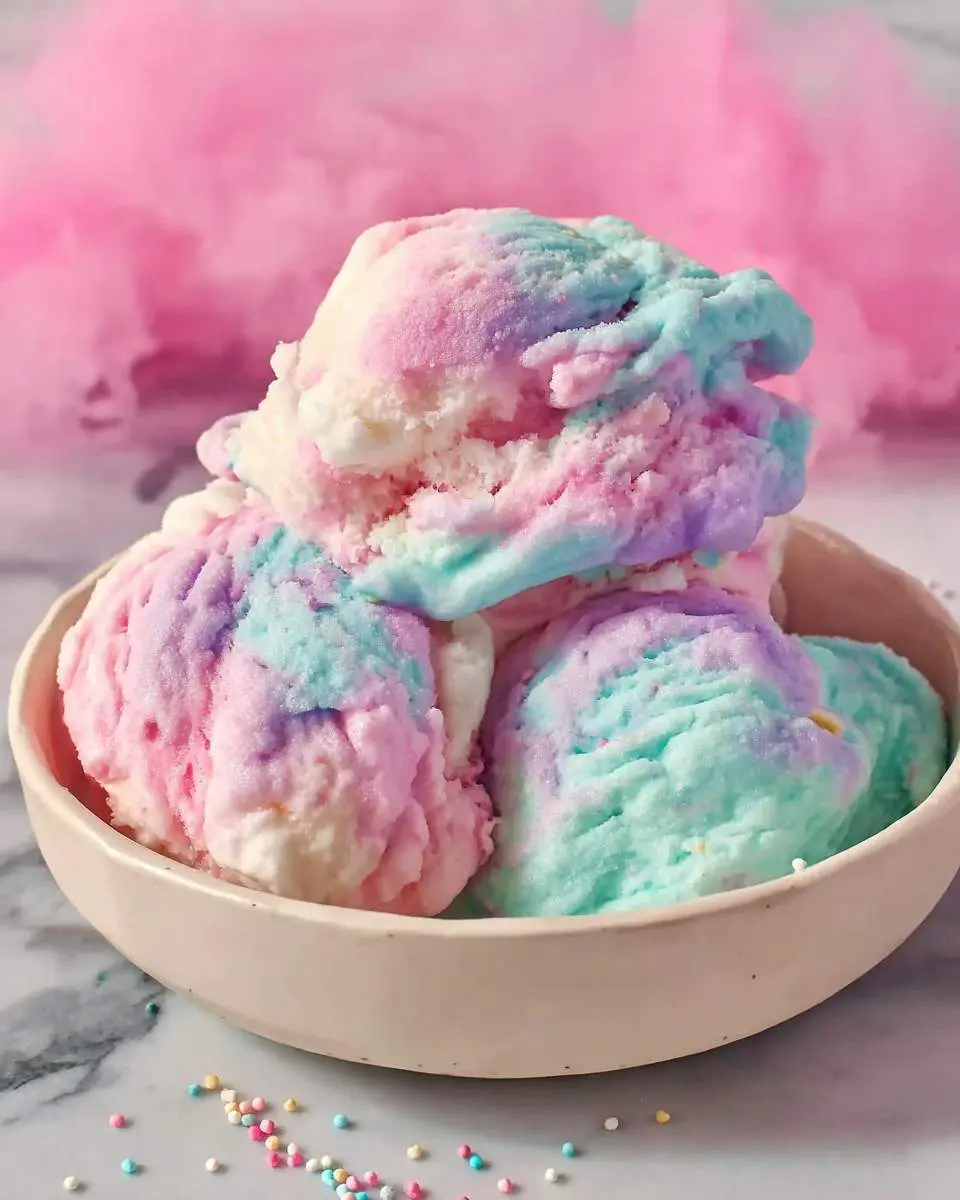

Cotton Candy Ice Cream
Ingredients
Equipment
Method
Notes
2. When adding the actual cotton candy pieces, be quick and gentle. Cotton candy dissolves very rapidly when it comes into contact with moisture, so fold them in just before freezing and don't overmix.
3. This no-churn ice cream benefits from a little softening time. Take it out of the freezer 5-10 minutes before you plan to serve for a perfectly scoopable texture.
Conclusion
This cotton candy ice cream truly brings out the kid in me every single time. It’s such a simple joy to create and an even bigger one to share. I hope it brings a touch of whimsical magic to your day, just as it does to mine. For another fun, vibrant treat, you might want to try my homemade Dole Whip recipe too!