The smell of maple and smoky barbecue drifting through my kitchen at 6 PM on a Tuesday is what pulled my husband away from his laptop. He stood in the doorway, sniffing the air like a cartoon character floating toward pie. That is the power of Maple BBQ Hasselback Kielbasa Bites. I had seen the technique online dozens of times, but I never believed something so simple could make people actually stop what they were doing.
My grandmother used to simmer kielbasa with cabbage until the whole house smelled like a Polish Sunday. I loved that dish, but I wanted something I could serve at a party without needing forks and plates. These bites give me that same smoky, fatty comfort in a form you can pick up with your fingers. The first time I made them, my niece ate six before dinner and then asked if we could have them again for dessert.
I have been playing with sheet pan dinners lately, especially since I got obsessed with my Blackstone cowboy stir fry. This recipe came from that same energy: maximum flavor, minimal cleanup, something that feels special without requiring a culinary degree.
Why Kielbasa and Maple Were Made for Each Other
The fat in kielbasa needs something sweet to balance its salt and smoke. Maple syrup does that job better than brown sugar because it brings its own depth, almost a caramelized woodiness that mirrors the sausage’s own character. I use a thick-cut Polish kielbasa, the kind with visible fat marbling, because lean versions dry out in the oven. The barbecue sauce I choose matters too: I want something with vinegar punch, not just sticky sweetness, so it cuts through the richness. Those little parmesan crusted tortellini bites I made last month taught me that contrast is everything in finger food.
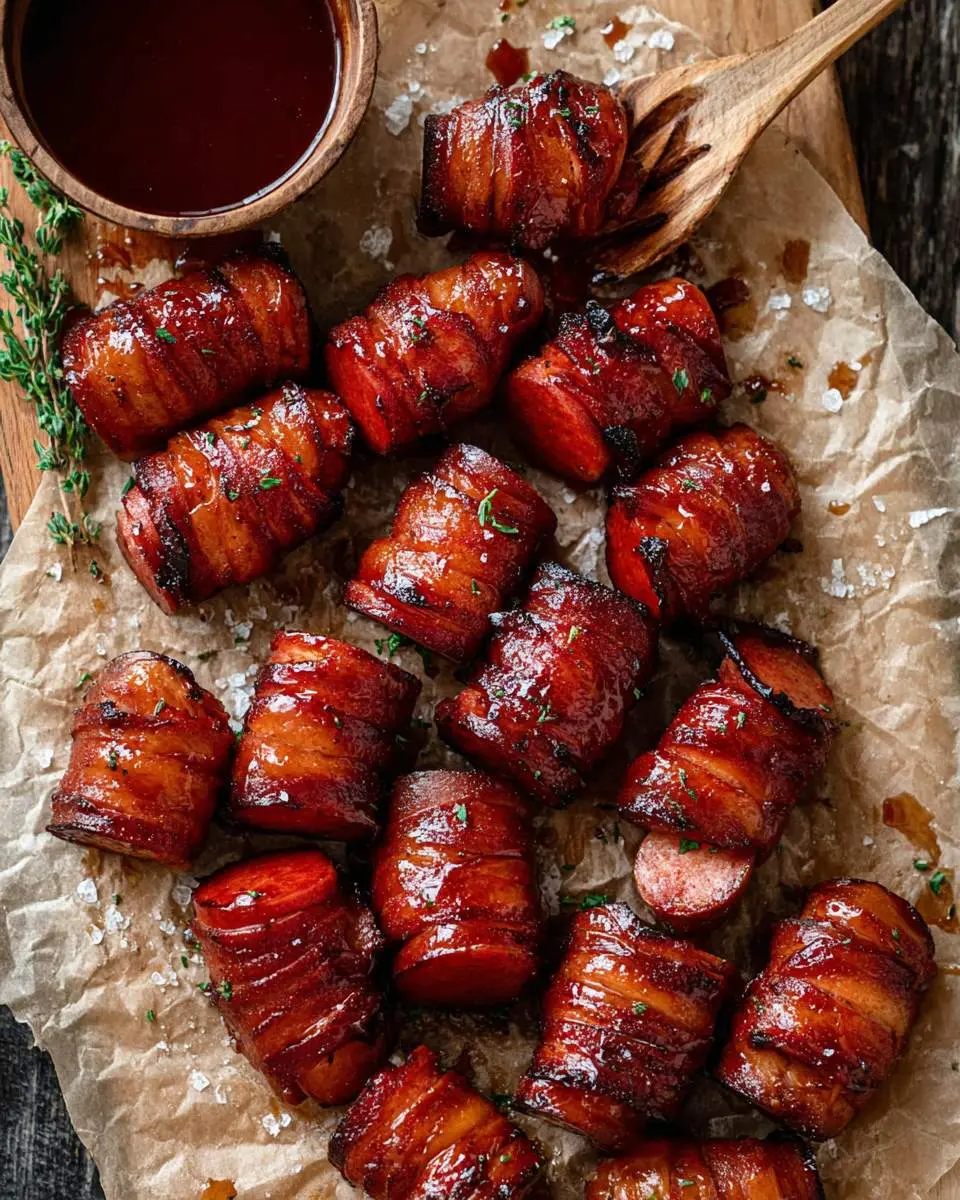
How to Make Maple BBQ Hasselback Kielbasa Bites
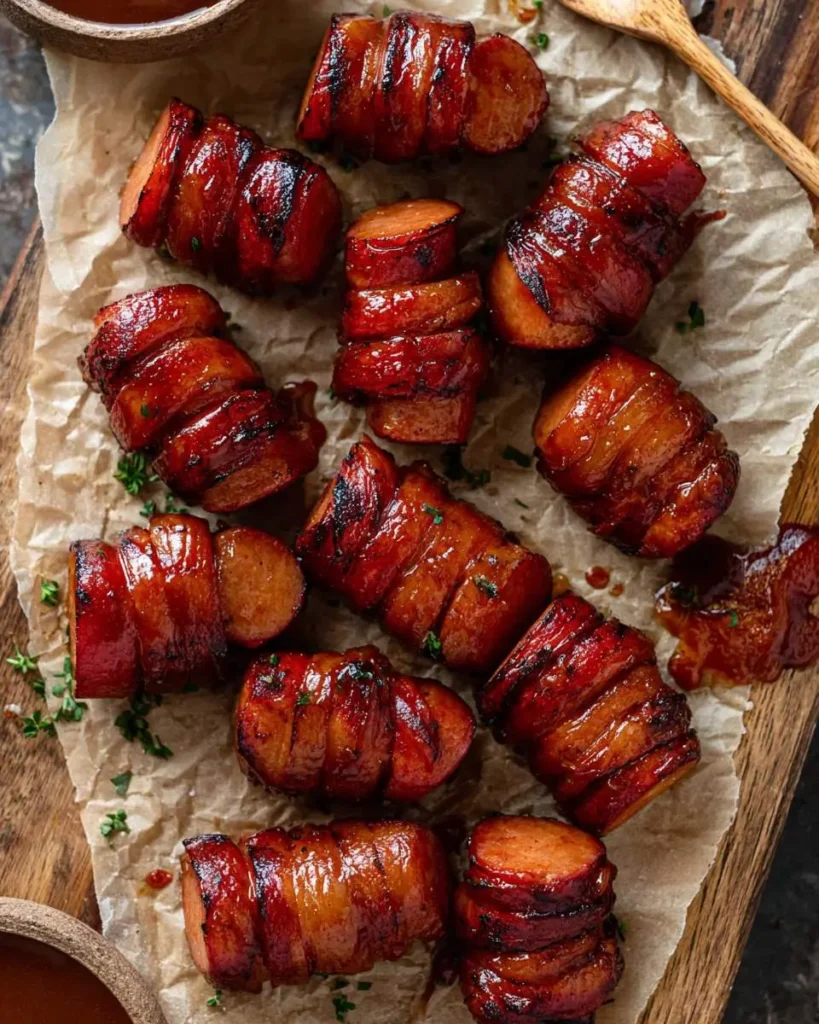
I start by slicing my kielbasa into thick coins, about three-quarters of an inch each. The hasselback cut means I slice almost through each round, leaving the bottom intact so the coin fans open like a tiny accordion. This is the moment to be patient: if you rush, you slice clean through, and then you just have regular old kielbasa rounds. I lay them on a wire rack set inside a sheet pan, which lets the fat drip away and the heat circulate underneath.
The glaze comes together while the oven preheats: maple syrup, barbecue sauce, a splash of Worcestershire for umami depth, and a pinch of cayenne I almost always forget until the last second. I brush the first coat on generously, then slide the pan into a 400-degree oven. The smell hits at about twelve minutes, that sweet-savory marriage that makes stomachs growl. I pull them out, brush again, and let them go until the edges curl and the glaze turns sticky-tacky, almost candied. My sausage and peppers recipe taught me that rendered fat is flavor, but here I want just enough left to keep things juicy.
What I Learned After Burning the First Batch
My first attempt, I crowded the pan. The kielbasa steamed instead of roasted, and the glaze never got that lacquered shine. Now I give each bite breathing room, even if it means using two pans.
I also learned that cold kielbasa slices easier. Room temperature sausage smushes under the knife. I keep mine in the freezer for ten minutes before cutting.
The second glaze application is non-negotiable. One coat soaks in; two coats builds that glossy, finger-licking exterior. Skip it and you miss the whole point.
My Secret Trick: I place a damp paper towel under my cutting board when I do the hasselback slices. The board stops sliding, my fingers stay safer, and I can focus on cutting to exactly the right depth without the whole setup skating across my counter.
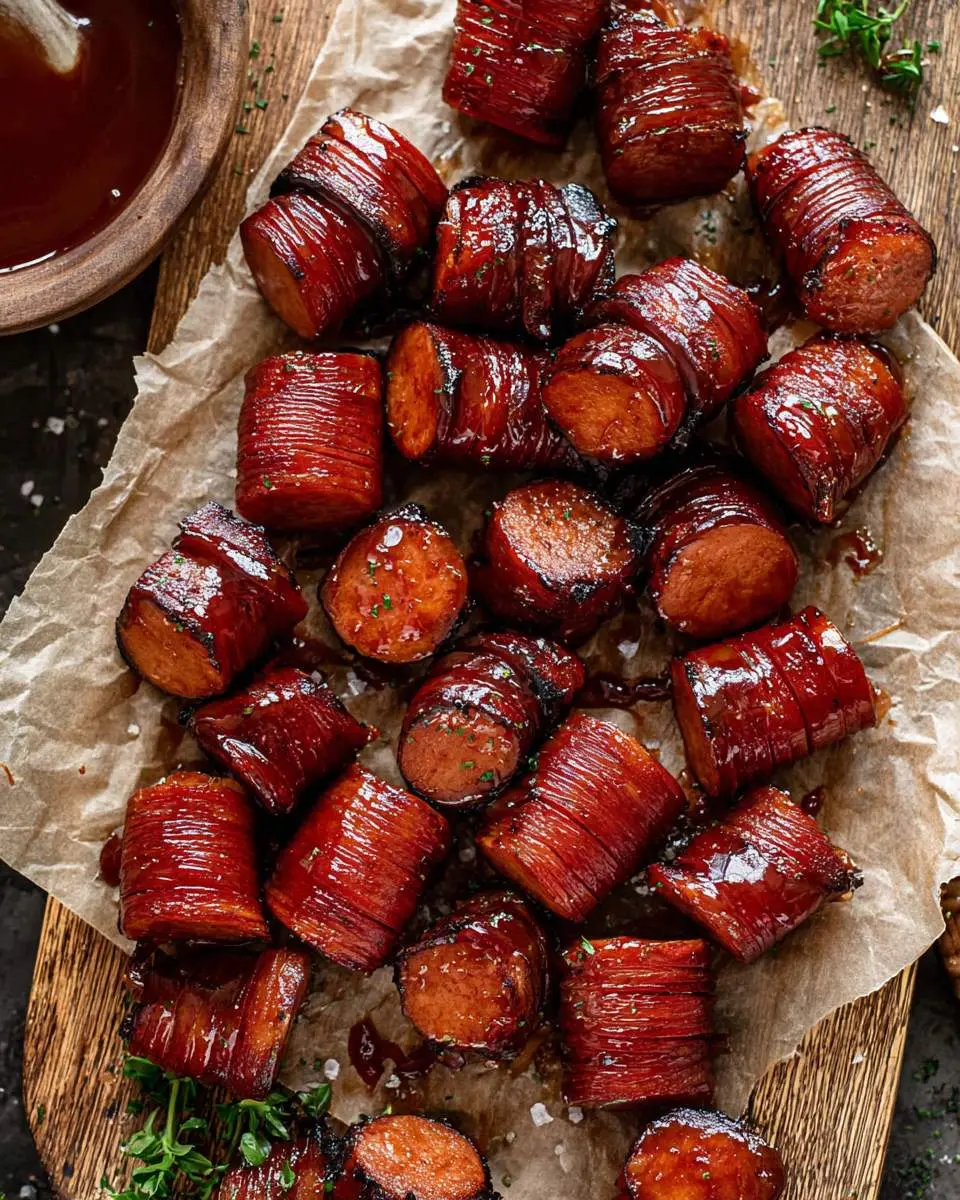
How to Store Maple BBQ Hasselback Kielbasa Bites
- Refrigerate cooled bites in an airtight container for up to 4 days; separate layers with parchment paper to prevent sticking
- Freeze on a sheet pan until solid, then transfer to freezer bags for up to 2 months; thaw overnight in refrigerator before reheating
- Reheat in a 375-degree oven for 8-10 minutes on a wire rack to restore crisp edges; microwave works in 30-second bursts but softens the glaze
- Do not store glazed bites at room temperature longer than 2 hours; the maple base makes them susceptible to bacterial growth
Why This Recipe Works for Busy Weeknights
Maple BBQ Hasselback Kielbasa Bites deliver protein and satisfaction without the carbohydrate load that slows me down after dinner. The maple syrup provides quick energy, while the fat from the kielbasa keeps me full through evening chores. I appreciate that I can prep the slicing and glaze in the morning, then just brush and bake when I walk through the door. That kind of flexibility means I actually cook instead of ordering pizza.
FAQs
Can I use turkey kielbasa instead of pork?
Turkey kielbasa works but requires adjustments. The lower fat content means it dries out faster, so reduce oven temperature to 375 degrees and check at ten minutes. You may also want to brush with a little melted butter before the first glaze to compensate for missing fat. The flavor will be milder, so consider adding smoked paprika to your glaze.
What if I do not have a wire rack?
You can roast directly on a parchment-lined sheet pan, but flip the bites halfway through cooking to prevent soggy bottoms. The glaze will pool slightly, which actually creates delicious sticky edges, though you lose some of the all-around crispness. A broiler pan works as a decent substitute if you have one.
How do I keep the slices from falling apart?
Do not slice more than three-quarters of the way through, and use a sharp knife without serrations. A dull blade tears the casing, which holds everything together. If a slice does separate, nestle the pieces together on the pan; the glaze will glue them back together during baking.
Can I make these in an air fryer?
Absolutely, and I do this for small batches. Cook at 380 degrees for 8 minutes, brush with glaze, then 3-4 more minutes until caramelized. The circulating air creates exceptional crispness, though you will work in batches since air fryer baskets are small. Maple BBQ Hasselback Kielbasa Bites actually develop a lacquered shell in the air fryer that I sometimes prefer to the oven version.
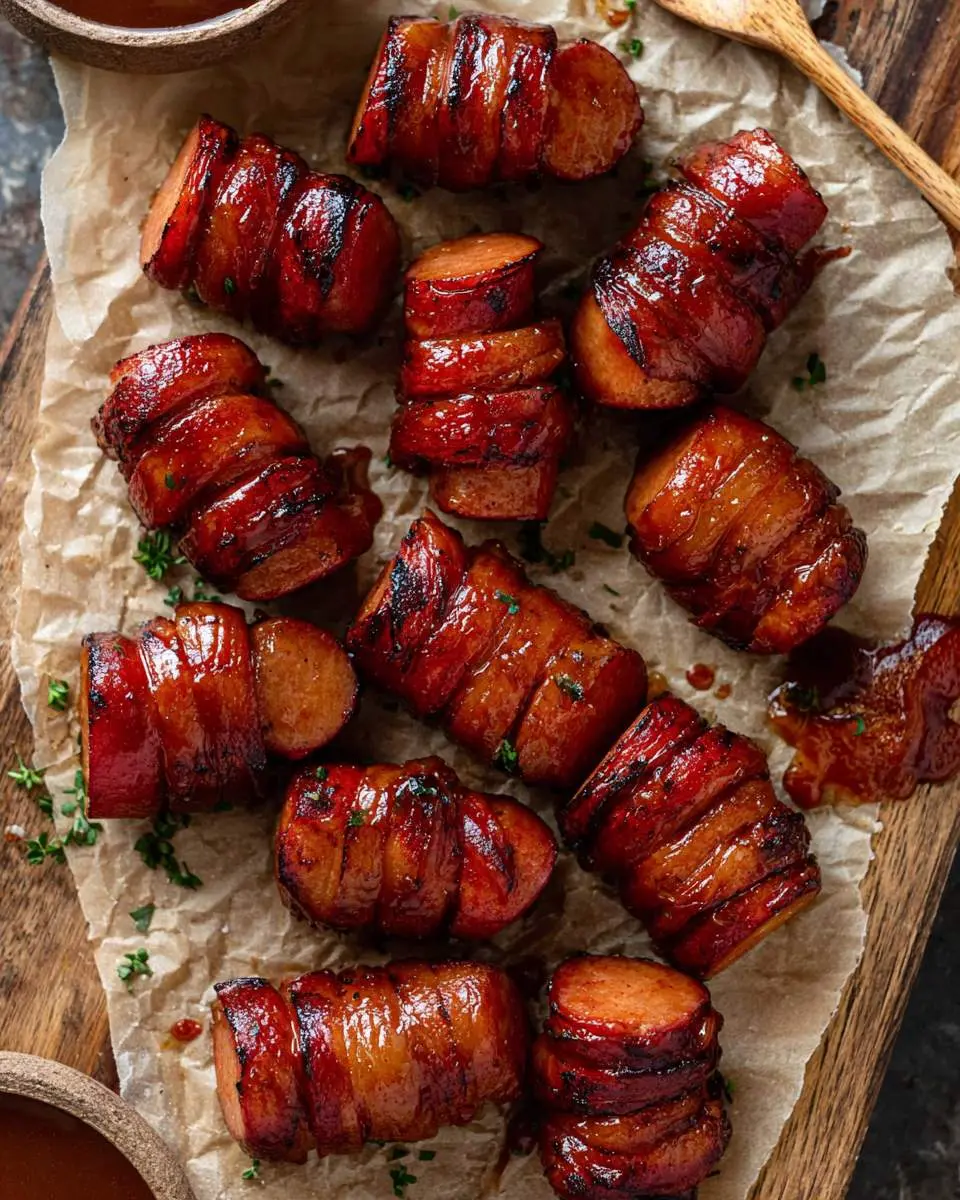

Maple BBQ Hasselback Kielbasa Bites
Ingredients
Equipment
Method
Notes
Conclusion
I keep coming back to Maple BBQ Hasselback Kielbasa Bites because they surprise people. They look fancy, taste indulgent, and ask almost nothing of me on a tired evening. If you need more easy kielbasa inspiration, my sheet pan gnocchi with kielbasa and vegetables uses the same hands-off philosophy. Make these once, and I bet they become your secret weapon too.
Follow us on Social Media : Pinterest