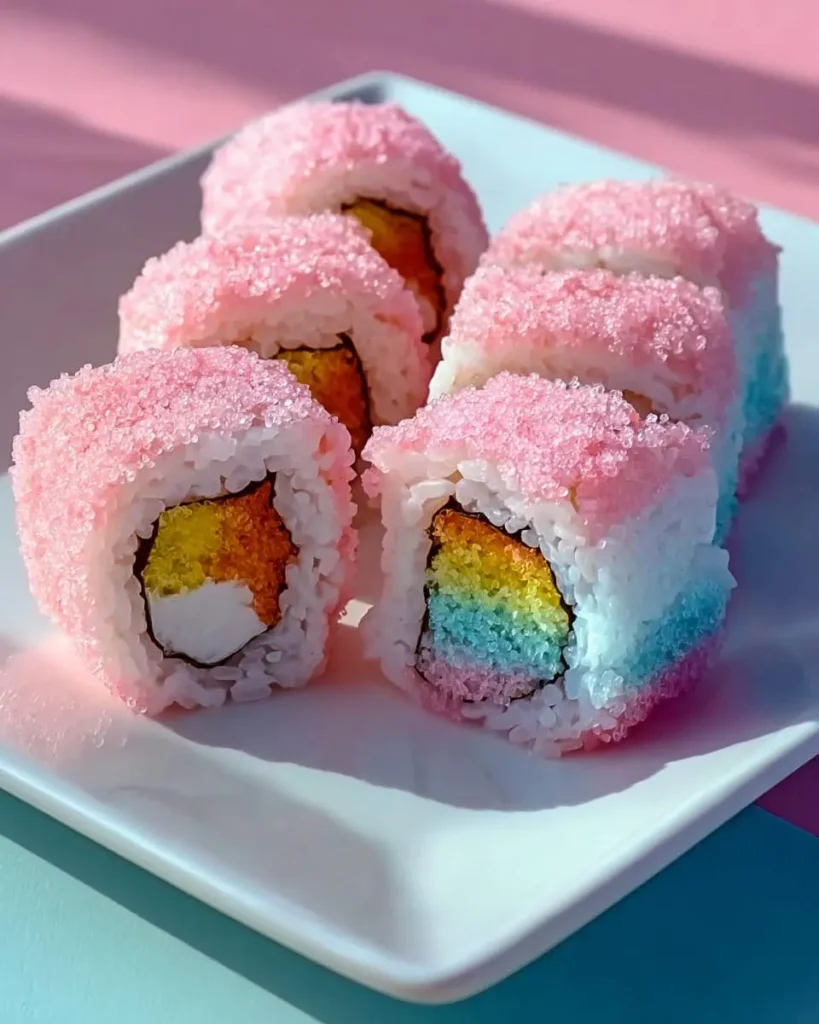
The moment that pink and blue fluff melts on your tongue, it’s like a whisper of childhood carnival magic, isn’t it? I was craving something truly whimsical the other day, something that would bring a huge smile to everyone’s face, and that’s exactly how my idea for this incredibly playful Cotton Candy Sushi came to life.
I remember trying to make something similar when I was a kid, a messy attempt with construction paper and tape, dreaming of edible versions. This time, with actual ingredients, the joy of creating something so utterly delightful was just as powerful, but much tastier!
It’s such a departure from our usual kitchen adventures, like when we experimented with that rich ube champorado, but sometimes you just need to embrace pure, unadulterated sweetness. I promise, getting creative with candy has never been this fun, and I can’t wait for you to experience it too.
What You Need to Make This Recipe
For this magical creation, you really don’t need much, which is part of its charm. The star, of course, is the fluffy cotton candy – its vibrant colors and delicate texture are what give our Cotton Candy Sushi its iconic look and melt-in-your-mouth feel. Then there are the fruit roll-ups, which aren’t just for rolling; they provide that perfect chewy base and a pop of fruity flavor that complements the sweetness beautifully, much like how those strawberry cheesecake bites have that wonderful fruity tang. And don’t forget your favorite candies for filling – think small, colorful, and fun, because they’re the little surprises inside each “sushi” piece!
How to Make Cotton Candy Sushi
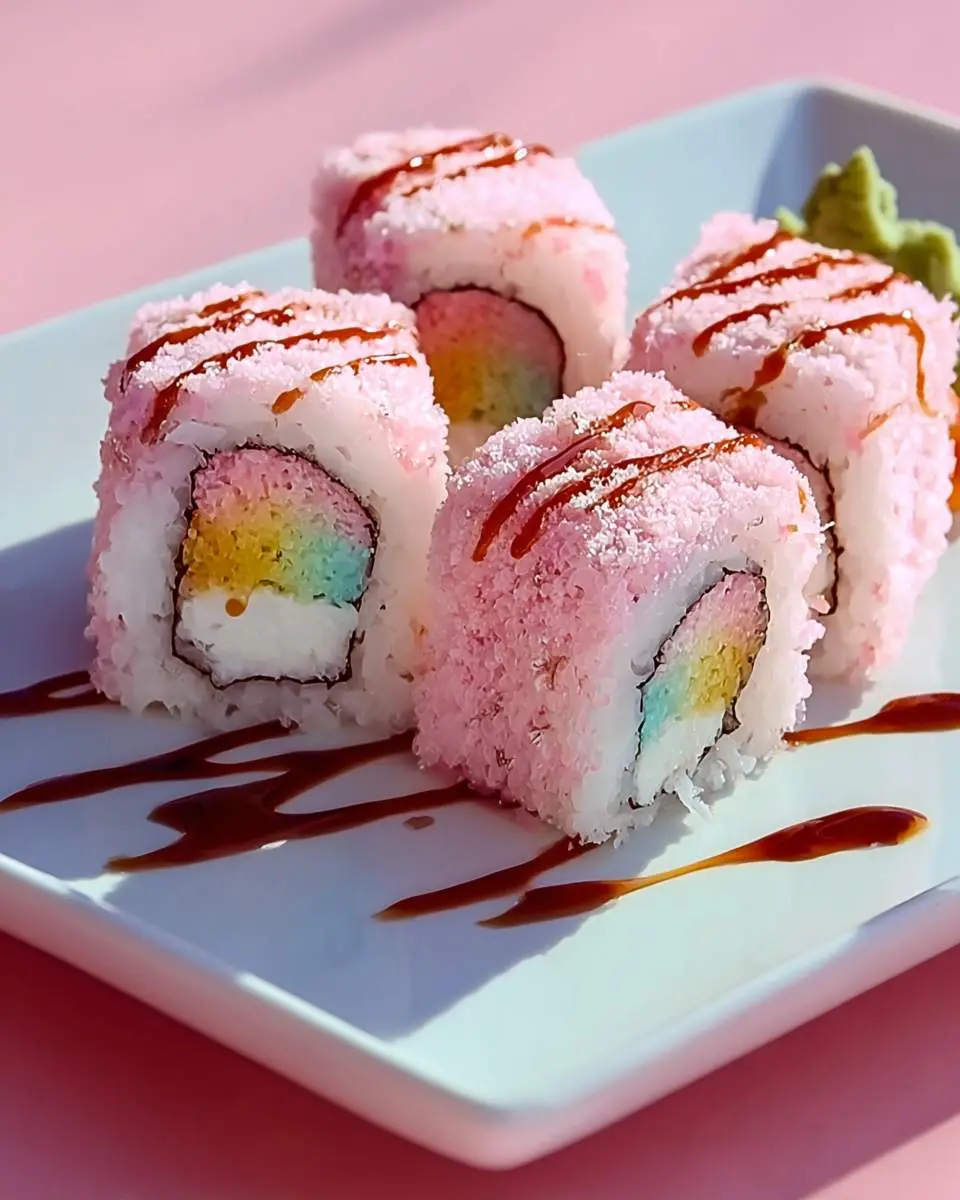
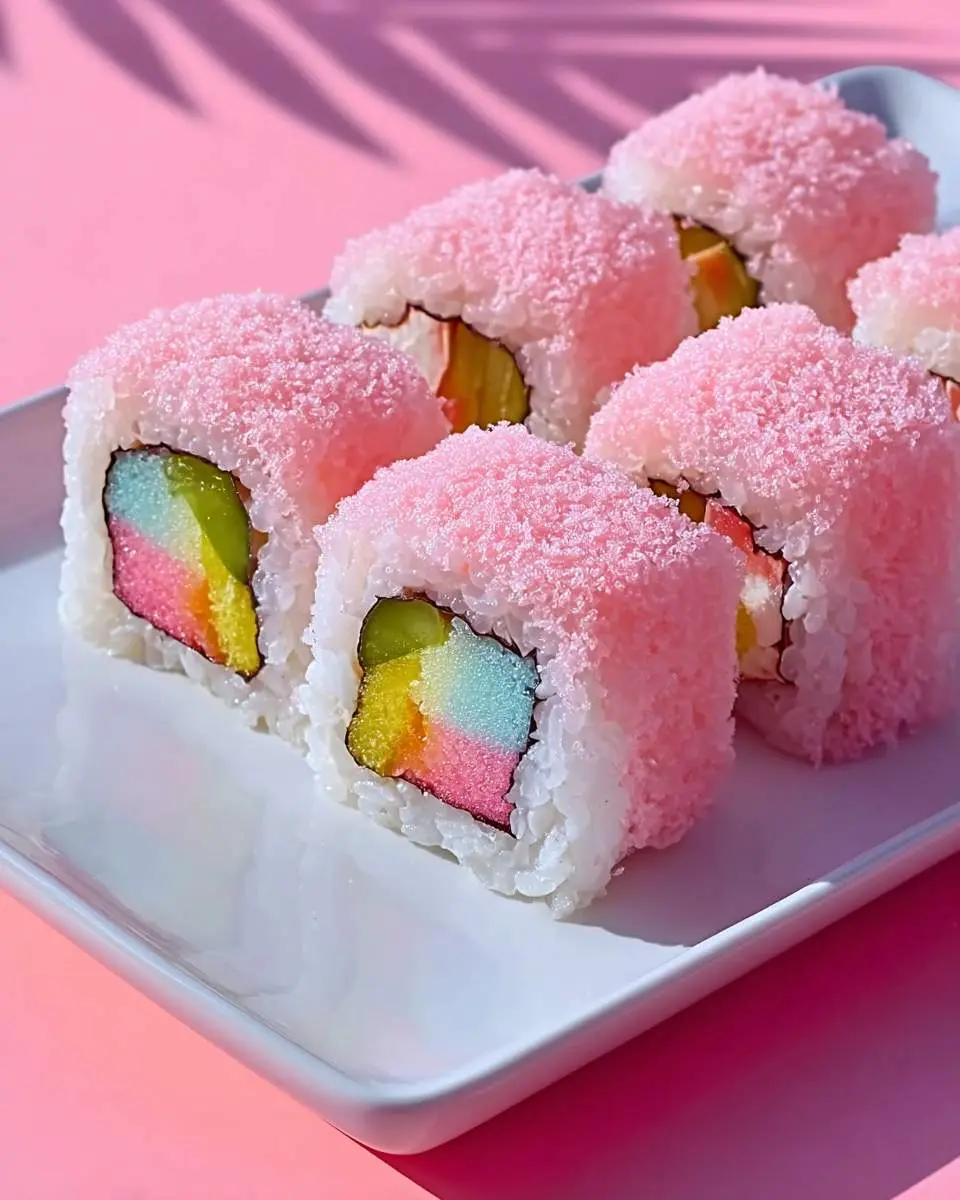
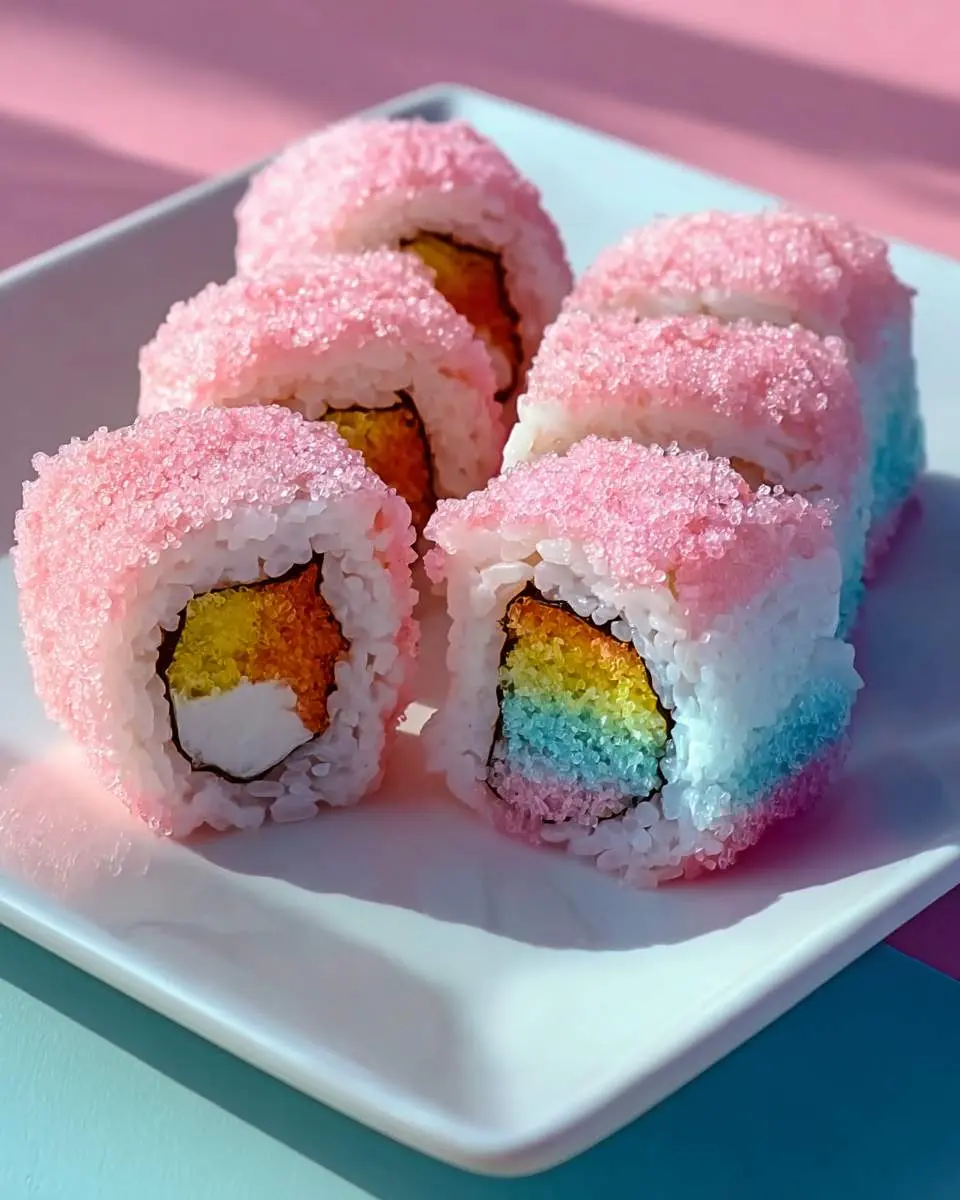
The process of making these is less about precise cooking and more about playful assembly, which I absolutely adore. You start by gently stretching out your fruit roll-up; it needs to be wide enough to cradle a generous strip of that ethereal cotton candy. As I press the cotton candy down, it feels so delicate, almost like working with clouds, and I imagine the sweet aroma filling the air as it begins to meld with the fruitiness. Then comes the fun part: scattering those little candy surprises across the cotton candy, knowing each bite will be a delightful discovery.
Next, you carefully, almost lovingly, roll it all up. The fruit roll-up embraces the cotton candy and candies snugly, transforming into a vibrant log. As I slice through it, seeing the layers and colors emerge, it’s always a moment of pure satisfaction, much like the first time I made those adorable strawberry shortcake sushi rolls. It’s simple, yes, but the visual appeal and the anticipation of that sugary bite are just wonderful.
Pro Tips
Don’t be afraid to experiment with different cotton candy flavors and colors! I’ve found that mixing a few pastel shades together creates a really beautiful, marbled effect that makes each piece of Cotton Candy Sushi truly unique and Instagram-worthy.
When choosing your inner candies, go for smaller, softer options. Hard candies can make slicing difficult and might poke through the delicate fruit roll-up, ruining the perfect “sushi” shape we’re aiming for.
My Secret Trick: To get perfectly clean slices, lightly grease your knife with a tiny bit of neutral oil before each cut. This prevents the sticky fruit roll-up and cotton candy from dragging and ensures beautiful, sharp edges every time.
Work quickly but gently. Cotton candy is very sensitive to humidity and can start to dissolve if left out too long, so assemble and serve these delightful treats relatively fast for the best texture.
How to Store Cotton Candy Sushi
- Leftovers are best stored in an airtight container at room temperature for up to 1-2 hours if you live in a dry environment. Any longer, and the cotton candy will start to melt from humidity.
- I generally don’t recommend refrigerating these, as the cold and moisture will make the cotton candy dissolve rapidly and the fruit roll-up become very sticky and hard.
- Freezing is definitely not an option for this delicate dessert; the textures would be completely ruined upon thawing. Serve them fresh!
Nutritional Benefits
Let’s be honest, we’re not making this Cotton Candy Sushi for its health benefits; we’re making it for the pure joy and whimsy it brings! It’s a treat designed to delight your sweet tooth and spark happy memories, and sometimes, that emotional boost is a “benefit” all on its own. While it’s certainly a sugary indulgence, the happiness it creates is truly priceless.
FAQs
Can I make Cotton Candy Sushi ahead of time for a party?
I wouldn’t recommend making these too far in advance, as cotton candy is very sensitive to moisture and can start to melt within a few hours. For the best presentation and texture, assemble them right before your guests arrive.
What kind of candies work best inside the rolls?
I find that small, soft candies like mini marshmallows, gummy worms cut into smaller pieces, or even chocolate chips work wonderfully. Avoid anything too hard or pointy, as it can make rolling and slicing difficult.
Can I use different types of fruit snacks instead of fruit roll-ups?
You definitely can! Any flat, pliable fruit snack that can be stretched without tearing would likely work. Just ensure it’s sticky enough to hold the cotton candy and candies together when rolled.
Is this recipe suitable for kids to help make?
Absolutely! This is one of my favorite kitchen projects to do with little ones. The rolling and arranging of candies is great for fine motor skills, and they absolutely adore the magical transformation of ingredients into their own sweet creations.

Cotton Candy Sushi
Ingredients
Equipment
Method
Notes
2. **Grease Your Tools:** Lightly greasing your hands, spatula, and knife with butter or cooking spray will prevent sticking when working with the sticky rice mixture and slicing the rolls.
3. **Color Fun:** Don't be afraid to add a drop or two of food coloring to your melted marshmallow mixture before adding the cereal for even more colorful "sushi rice"! You can also experiment with different fruit roll-up flavors and cotton candy colors.
Conclusion
This Cotton Candy Sushi isn’t just a dessert; it’s an experience, a little bite of pure, unadulterated joy that reminds me of magical parties and bright, happy memories. I truly hope you give it a try and let your inner child play in the kitchen. It’s definitely earned a spot on my list of fun, memorable treats, right up there with that fantastic unicorn cake we loved so much.