
The sweet swirl of a homemade Ninja Creami Peanut Butter Cup ice cream takes me right back to my grandmother’s kitchen, a memory I now share with my own daughter. There’s something truly magical about turning simple ingredients into a rich, creamy frozen dessert that perfectly captures those classic flavors we all adore. It’s a moment of pure bliss, easily made in your own home, just like our Ninja Creami Cinnamon Ice Cream.
I remember baking with Grandma, her hands guiding mine through dough and batters. Now, our Ninja Creami stands beside her classic mixer, bridging generations as we create new traditions, blending old-school comfort with modern convenience.
This recipe is incredibly comforting and surprisingly low-stress, making it perfect for any day. My best tip? Always prepare your base the night before; that chill time is truly key for the creamiest results!
What You Need to Make This Recipe
Crafting this delightful ice cream relies on a few simple stars: the rich combination of whole milk and heavy cream for that signature creaminess, and of course, plenty of creamy peanut butter for that unmistakable flavor. It reminds me of the indulgence of Ninja Creami Dubai Chocolate Ice Cream, but with a nutty twist! You’ll find the full list of ingredients and precise measurements in the recipe card below.
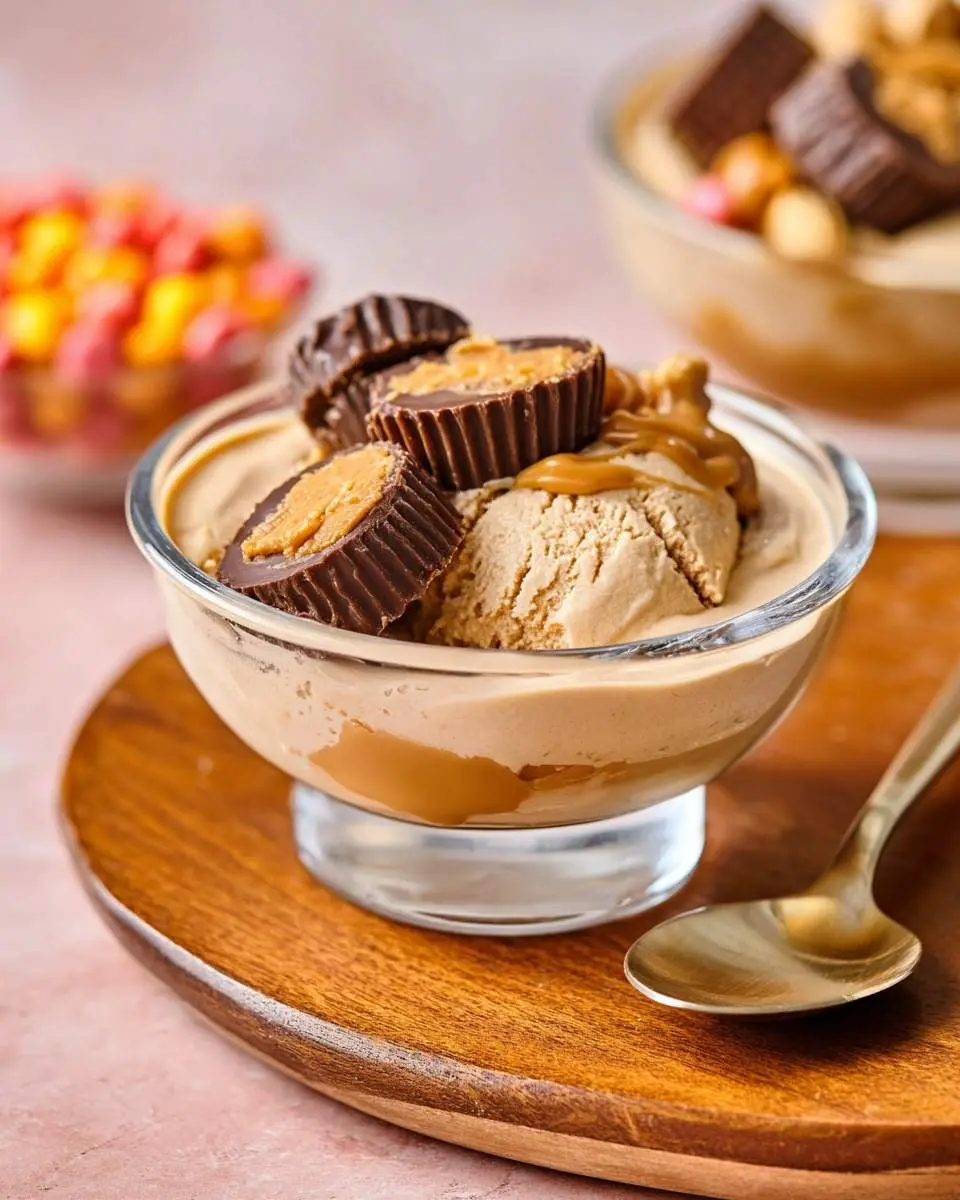
How to Make Ninja Creami Peanut Butter Cup
Making this Ninja Creami Peanut Butter Cup is a wonderfully straightforward process, perfect for a busy family weeknight or a special occasion. First, you’ll whip up a simple base mixture, then let it chill patiently for a full 24 hours to develop its deep flavor and creamy potential. After that, the Ninja Creami does its magic, transforming the frozen base into a dreamy dessert. Just like a refreshing Ninja Creami Watermelon Sorbet, it’s all about that perfect texture. Finally, fold in those delicious peanut butter cup mix-ins for the ultimate treat!
Pro Tips for Making This Ninja Creami Peanut Butter Cup
Creating the perfect Ninja Creami Peanut Butter Cup ice cream is all about a few simple tricks I’ve learned over the years. Getting that base just right makes all the difference!
- Proper Chilling is Key: Don’t rush the chilling process! That 24-hour chill time for the base isn’t just a suggestion; it truly allows the ingredients to meld and the mixture to become perfectly cold, which is essential for the Ninja Creami to produce the best texture. My daughter and I sometimes prepare the base right after breakfast, and then it’s ready for an evening treat the next day.
- Layer Your Mix-Ins: When adding your chopped Reese’s Peanut Butter Cups, try to layer them slightly. This ensures you get a delightful burst of chocolate and peanut butter in every spoonful, rather than having them all sink to the bottom.
- My Secret Trick: When I’m processing the frozen base, if it comes out a little crumbly after the first spin, I always add a tablespoon or two of milk and re-spin it on the “Lite Ice Cream” or “Re-spin” setting. This makes the Ninja Creami Peanut Butter Cup unbelievably smooth and creamy every single time, just like the store-bought kind!

How to Store Ninja Creami Peanut Butter Cup
When you have leftover Ninja Creami Peanut Butter Cup, I always recommend storing it in an airtight container in the freezer. This helps preserve its creamy texture and rich flavor. When you’re ready for another scoop, you might find it needs a quick re-spin in your Ninja Creami with a splash of milk to bring it back to that perfectly soft and scoopable consistency. It’s a simple way to enjoy those comforting flavors again and again!
Nutritional Benefits
This Ninja Creami Peanut Butter Cup offers a delightful treat that can be a source of satisfaction. Made with real dairy, it provides calcium, essential for strong bones, while the peanut butter offers a good dose of protein, making it a more substantial dessert choice for the family.

FAQs
Can I use a different type of milk for this recipe?
While whole milk and heavy cream give the Ninja Creami Peanut Butter Cup its signature richness, you could experiment with a lower-fat milk, but be aware the texture might be slightly less creamy. My best advice is to stick to the recipe for the perfect indulgence.
How can I make this recipe healthier?
To make this Ninja Creami Peanut Butter Cup a bit lighter, you can use a sugar substitute for the powdered sugar and opt for a reduced-fat peanut butter. You could also explore a lower-fat milk, but know that it may impact the overall creamy consistency.
Can I prepare the base more than 24 hours in advance?
Absolutely! Preparing the base for your Ninja Creami Peanut Butter Cup a few days in advance is perfectly fine. Just ensure it’s kept in an airtight container in the fridge. This makes meal prep a breeze and ensures a frozen treat is always ready.
What if my Ninja Creami Peanut Butter Cup is too hard after freezing?
If your Ninja Creami Peanut Butter Cup becomes too hard after being frozen for a while, don’t worry! Simply let it sit on the counter for 10-15 minutes, or add a tablespoon of milk or cream, and then re-spin it in your Ninja Creami to achieve a perfectly soft and creamy texture.
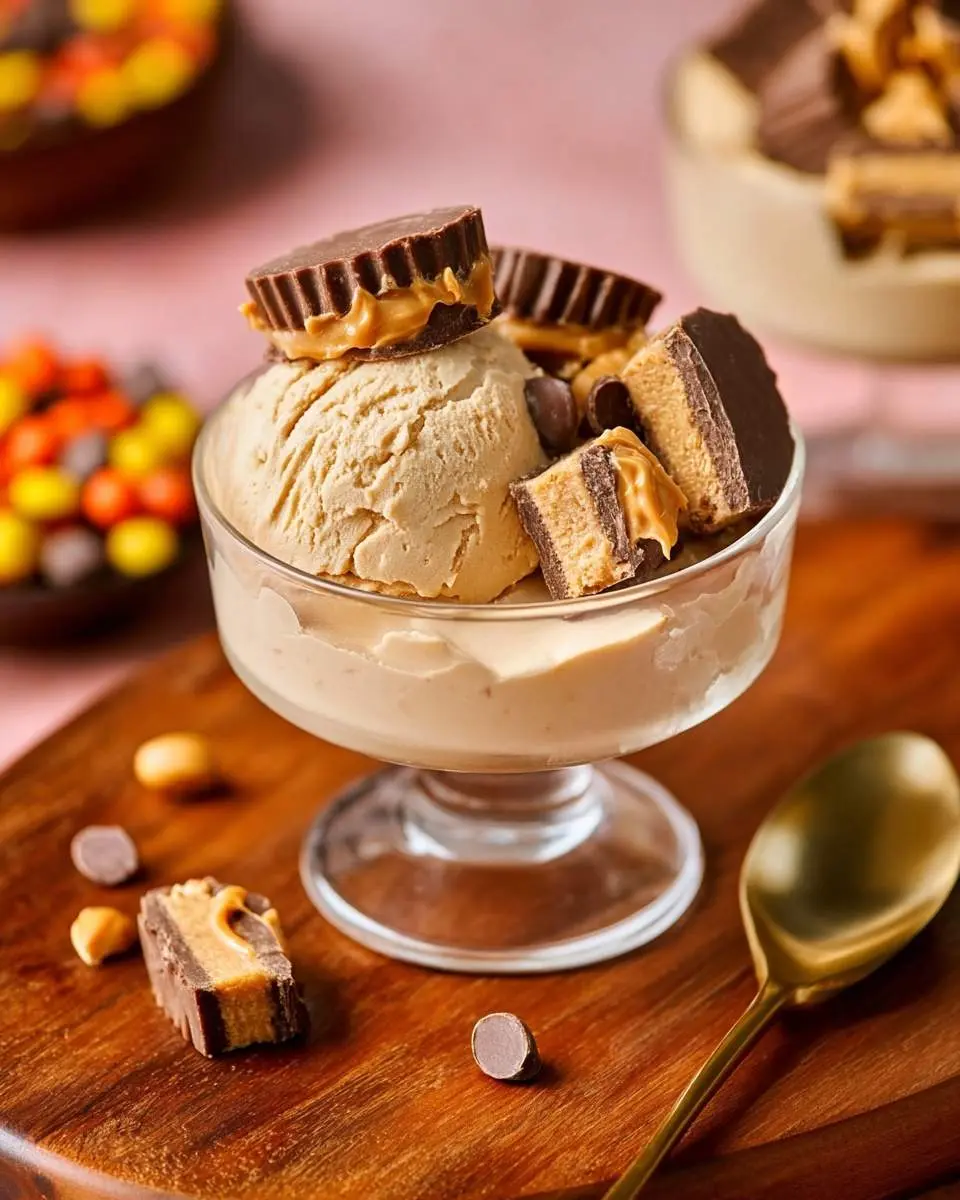

Ninja Creami Peanut Butter Cup Ice Cream
Ingredients
Equipment
Method
Notes
Conclusion
I truly hope this Ninja Creami Peanut Butter Cup recipe brings as much joy to your family as it does to mine. It’s more than just a dessert; it’s an invitation to create sweet memories, blending classic flavors with the effortless magic of the Ninja Creami. Whether it’s a simple weekday treat or a special celebration, this easy recipe, much like a refreshing Ninja Creami Lemon Sorbet, reminds us that the best moments are often the ones shared around the table, spoon in hand.