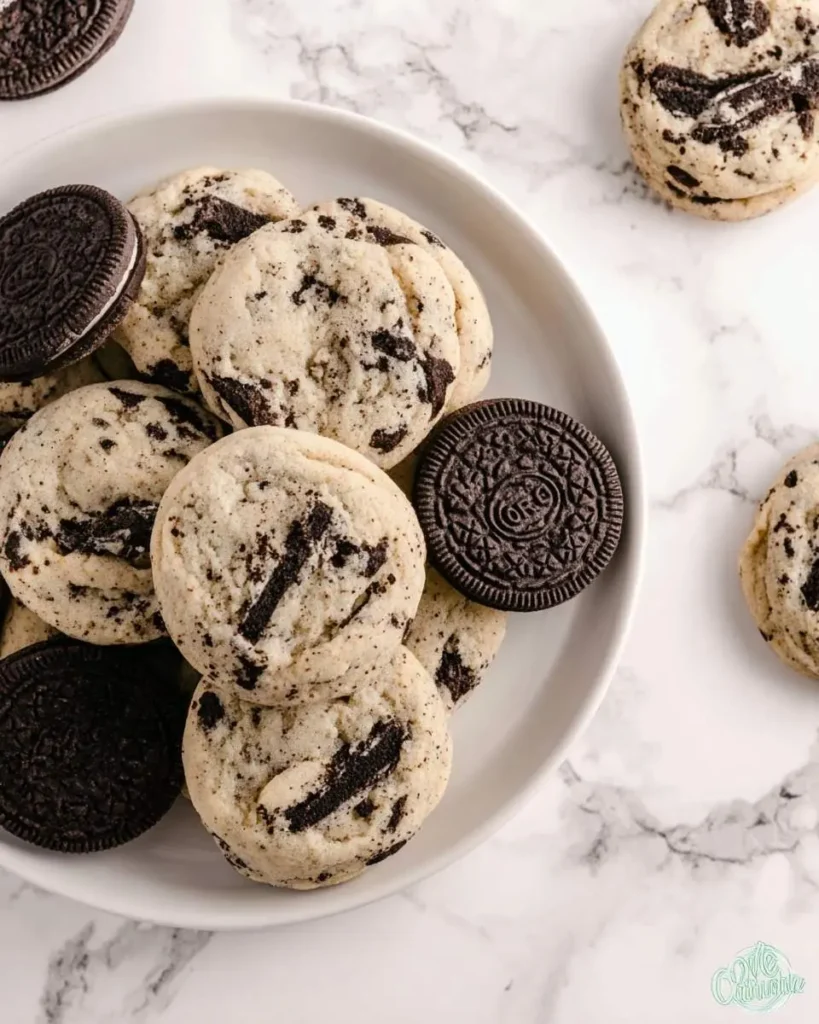
The first time I pulled a batch of these from my oven, the smell of dark cocoa hit me like a freight train of nostalgia. I stood there in my kitchen at 10 PM, still in my work clothes, and suddenly I was eight years old again, twisting apart store-bought cookies to get to that sweet white center. These homemade oreo cookies have that same magic, but better somehow. The chocolate wafers crack just right, and the filling is exactly the kind of sweet that makes you close your eyes.
My grandmother kept a sleeve of the store version in her freezer, which I always thought was eccentric until I tried it myself. The cold made the cream stiffen into something almost ice-cream-like. I have never been able to replicate that memory exactly, but these come closer than anything else I have baked. The first time I shared them with my neighbor, she ate three standing at my counter and asked if I was secretly a pastry chef. I am not. I am just stubborn about getting the texture right.
If you are in the mood for something spiced and seasonal, my gingerbread cookies have become my December tradition. But these chocolate sandwich cookies? They are for when you need something that feels like a secret you are keeping from adulthood.
The Ingredients That Make These Chocolate Wafers Work
The black cocoa powder is non-negotiable here. It gives that signature Oreo color and a mellow, almost earthy chocolate flavor that Dutch-processed cocoa cannot touch. I order mine online because most grocery stores do not stock it, and the difference is immediate the moment you open the bag. The filling depends entirely on good butter whipped until it is practically white, plus a touch of heavy cream that keeps it from tasting like straight sugar. I learned about the cream trick from a friend who makes wedding cakes, and now I cannot imagine the filling without it. For another fruit-forward cookie option, these apricot cookies use a similar technique with their jam centers.
How to Make oreo cookies
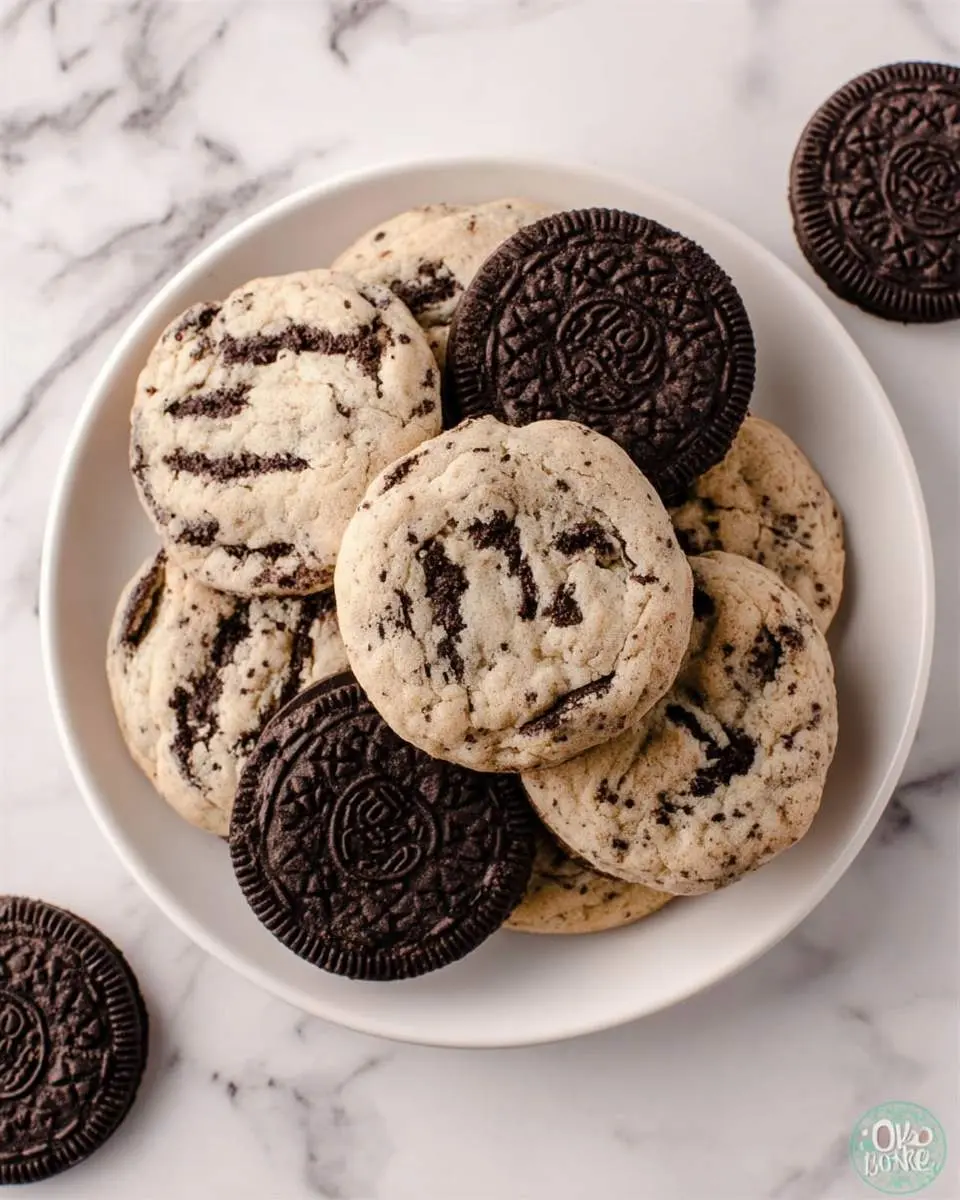
The dough comes together in a food processor in about ninety seconds, which still surprises me every time. You pulse the dry ingredients first, then add cold butter in chunks until the mixture looks like damp sand. The key moment is when you add the egg and vanilla and watch it transform from crumbly to cohesive. It will feel too dry at first, resist the urge to add liquid. Press it together with your hands and it suddenly becomes workable, almost clay-like.
Rolling it between two sheets of parchment is essential because this dough is sticky and you do not want to add extra flour. I roll mine to exactly one-eighth inch, which sounds fussy until you realize thicker wafers throw off the cookie-to-cream ratio. The cut rounds go onto a cold baking sheet, and they only need about ten minutes in the oven. They will look underdone when you pull them out, soft and puffy, but they firm up as they cool into that signature crisp snap. The filling comes together while the wafers cool, just butter and sugar beaten until fluffy, then a careful sandwiching process that requires patience I do not always have. If you want a chewier chocolate cookie experience, my chewy chocolate toffee cookies use a completely different technique worth exploring.
What I Learned After Making These Five Times
The black cocoa is acidic and will react with your leavening differently than regular cocoa. My first batch spread too much because I used the same amount of baking soda I would for natural cocoa. Cut it by a third and the wafers hold their shape perfectly. The dough also benefits from a brief chill, even twenty minutes, which I resisted initially because I am impatient. The chilled dough is easier to roll and the edges stay cleaner when you cut.
For the filling, room temperature butter is not warm enough. I microwave mine for exactly eight seconds to get it slightly softened but not melted. This makes the sugar incorporate without grittiness. The heavy cream goes in at the very end, and the mixture will look slightly curdled before it comes together, which is normal and terrifying the first time.
My Secret Trick: I scrape the seeds from half a vanilla bean into the filling. It adds tiny black specks that look professional and a depth of flavor that makes people ask what is different about these oreo cookies. The vanilla bean costs four dollars and transforms the entire experience.
How to Store oreo cookies
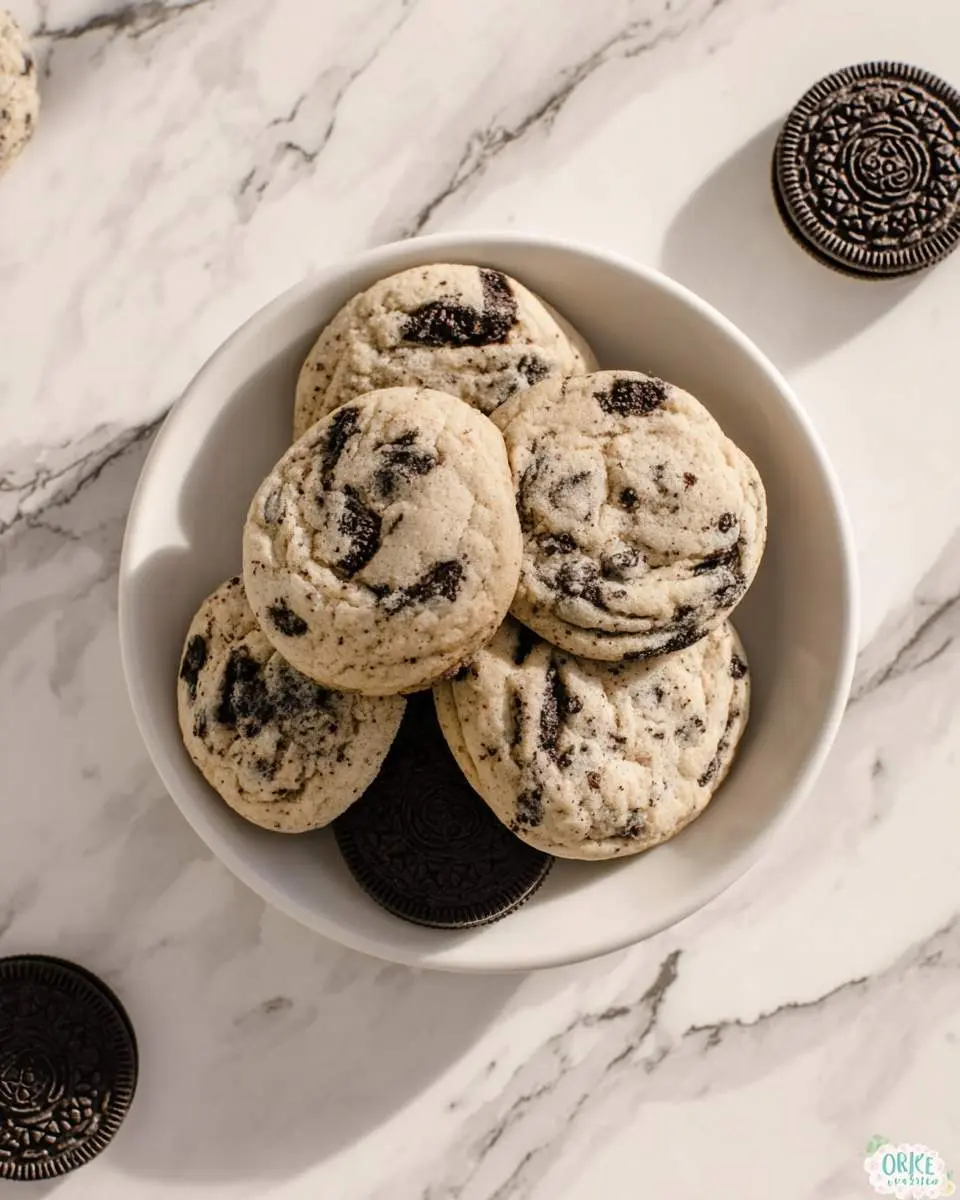
- Room temperature in an airtight container for up to 5 days, separated by parchment paper to prevent sticking
- Refrigerate for up to 2 weeks in a sealed container, bring to room temperature for 30 minutes before serving for best texture
- Freeze unfilled wafers for up to 3 months, thaw overnight and fill fresh when ready to serve
- Freeze fully assembled cookies in a single layer, then transfer to freezer bags for up to 2 months
- No reheating needed, these are meant to be eaten at room temperature or slightly chilled from the fridge
Why These Beat the Store Version Every Time
Real butter and black cocoa powder mean these homemade oreo cookies contain actual food rather than hydrogenated oils and artificial flavors. The black cocoa brings anthocyanins, those same antioxidants found in dark berries, though I would never pretend these are health food. What they are is control, the ability to decide exactly how sweet the filling should be, how dark the chocolate should taste, how thick the cream layer should stand. That matters more than any nutrition label.

FAQs
Can I use regular cocoa powder instead of black cocoa?
You can, but the cookies will taste more like standard chocolate sandwich cookies and lack that distinctive Oreo flavor and color. Dutch-processed cocoa is closer than natural cocoa, but black cocoa is worth seeking out online for the authentic result.
Why did my chocolate wafers spread too much in the oven?
Your butter was likely too warm or your baking soda amount was off. Make sure the butter is cold when you start, and reduce baking soda slightly if you are at high altitude. Chilling the cut dough for ten minutes before baking also helps.
How do I get the filling perfectly centered?
Use a piping bag or zip-top bag with the corner snipped to pipe a spiral of cream onto one wafer, starting from the outside and working in. Top with a second wafer and press gently until the cream reaches the edges evenly.
Can I make these oreo cookies ahead for a party?
Absolutely, they actually improve after a day as the flavors meld. Make them up to three days ahead and store at room temperature. The wafers soften slightly and become more like the store-bought texture, which some people prefer.
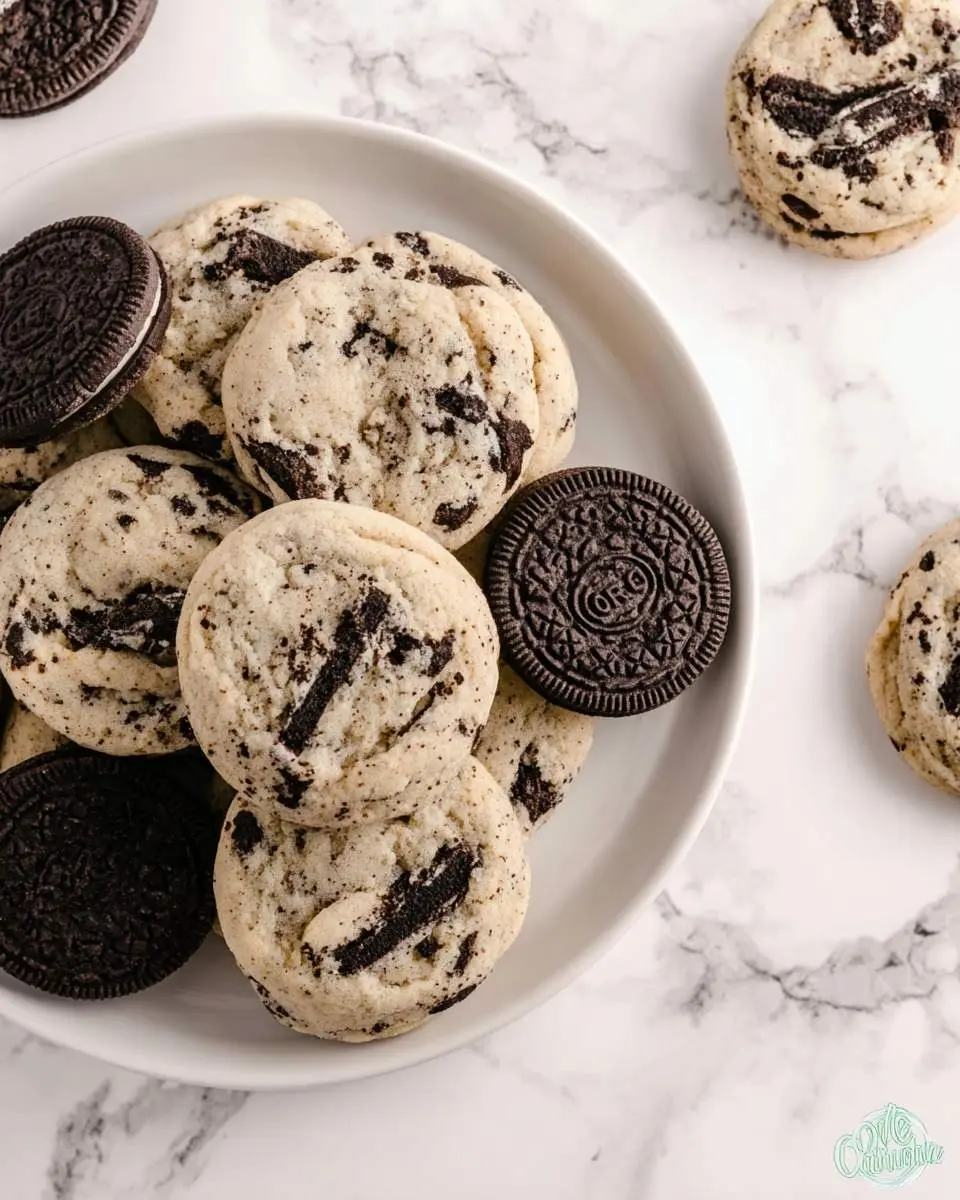

Homemade Oreo Cookies
Ingredients
Equipment
Method
Notes
Conclusion
I still keep a sleeve of the store version in my freezer, a tribute to my grandmother and to the eight-year-old I was. But these homemade oreo cookies have earned their own place in my kitchen, made on rainy Sundays when I need something that requires focus and rewards patience. For a completely different cookie experience, try my chocolate peanut butter Ritz cracker cookies, which require no baking at all and disappear just as fast.
Follow us on Social Media : Pinterest