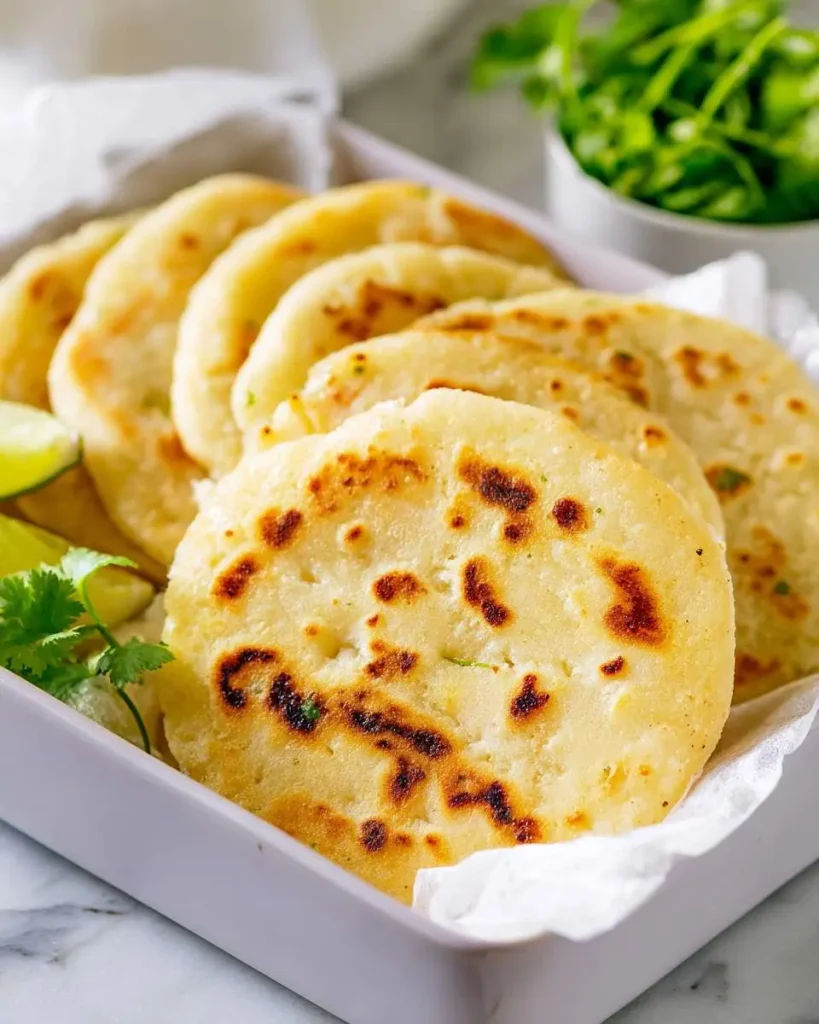
The first time I pressed my fingers into warm masa dough, I had no idea I was about to fall in love. There is something almost meditative about shaping these thick corn pockets, feeling the grainy texture give way under your palms, knowing that inside waits a molten core of cheese and beans that will spill out when you tear into it. That is the magic of a proper pupusa recipe, the kind that transports you straight to a Salvadoran kitchen where grandmothers have been perfecting this art for generations.
My friend Maria taught me this on a rainy Saturday in her tiny apartment kitchen. She laughed at my first lumpy attempts, the filling that kept escaping like a secret too good to keep inside. By my third try, I had found the rhythm, the gentle press and turn that seals everything without squeezing too hard. We ate them standing at her counter, hot off the comal, with curtido still crunchy from the morning’s quick pickle.
Now I make these whenever I need comfort that goes deeper than ordinary bread. If you are new to working with masa, you might enjoy my cherry bread first to build your confidence with dough.
The Corn and Cheese That Make Pupusas Sing
Masa harina is the soul here, not regular cornmeal, and the difference matters more than I expected. It creates that tender, pliable dough that crisps at the edges while staying soft inside. I use quesillo when I can find it, that stretchy Salvadoran cheese that pulls in long strands, but a mix of mozzarella and feta works beautifully too. The refried beans are not an afterthought, they add earthy depth that balances all that richness. This pupusa recipe taught me that simple ingredients, treated with respect, create something far greater than their parts. For another playful take on bread, my fruity pebbles banana bread brings that same joy of unexpected combinations.
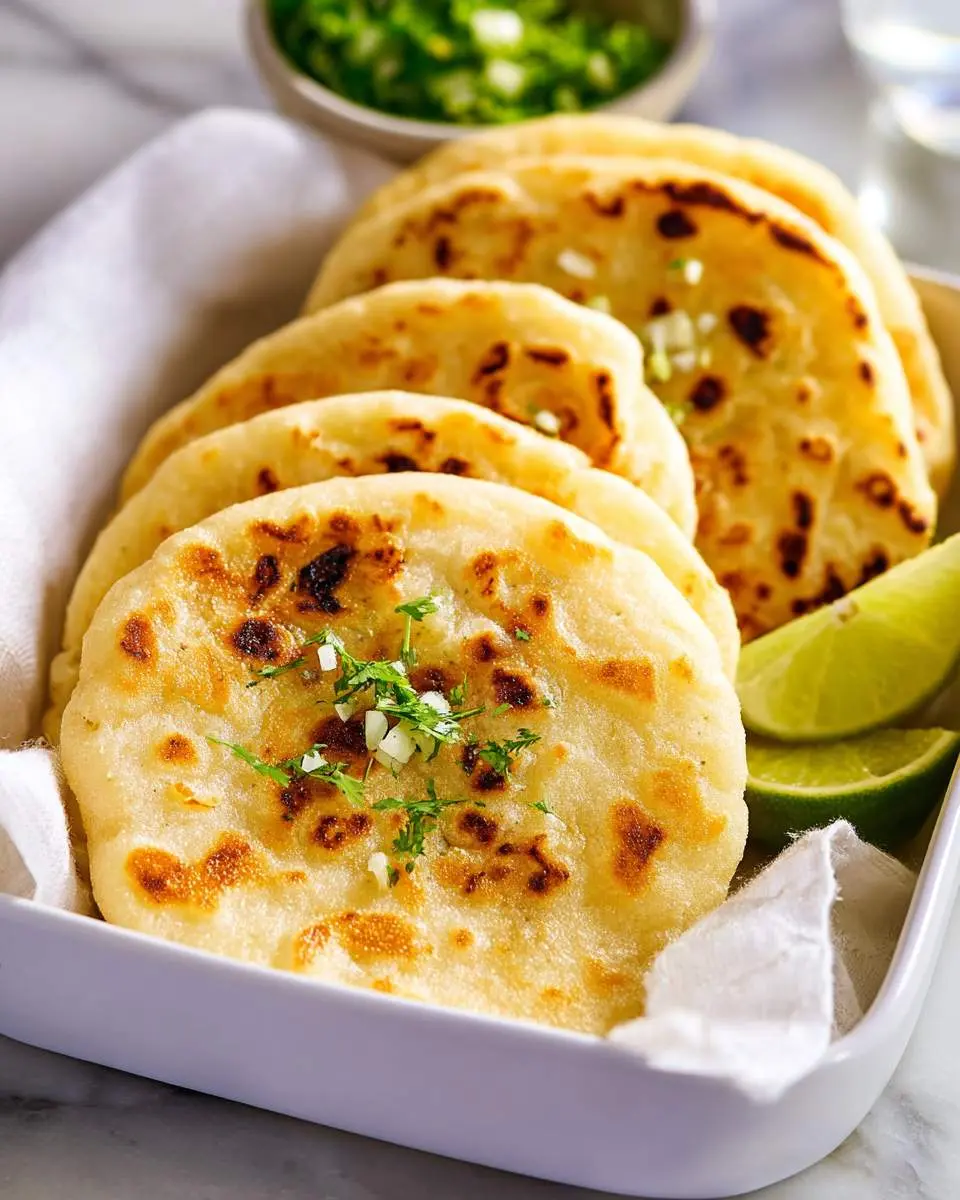
How to Make Pupusa Recipe
I start by mixing the masa with warm water and a pinch of salt, working it until it feels like soft clay that holds together without cracking. The dough needs to rest, covered with a damp cloth, while I prepare my fillings. This waiting matters, the hydration changes everything. I portion the dough into balls slightly larger than golf balls, then use my thumb to create a deep well in each one. The filling goes in generous but not greedy, a compact ball of cheese and beans that I slowly enclose, pinching the seam until it disappears. The shaping is where I slow down, pressing gently between my palms to flatten into a disk about half an inch thick, rotating as I go to keep it even. The sound when it hits the hot griddle is the best part, that soft sizzle promising the crust to come. I cook them dry, no oil, letting the natural starches create golden spots that blister and char in the best way. The smell of toasting corn fills my kitchen, and I know I have about three minutes per side before the cheese inside turns to lava. If you love the satisfaction of hand-shaped breads, my cheesy garlic bread uses similar techniques with delicious results.
What I Learned After My Dough Exploded
My first batch sent cheese shooting across the griddle like tiny volcanic eruptions. I learned that the seal must be flawless, no thin spots where pressure can escape. I now spend extra seconds on that pinching motion, running my finger around the seam to feel for weaknesses.
The dough consistency is everything. Too dry and it cracks when flattened, too wet and it sticks to my hands and tears. I keep a small bowl of water nearby to dampen my palms as I work, finding that sweet spot where the dough releases cleanly but holds its shape.
Temperature patience pays off. A griddle too hot burns the outside before the cheese melts inside, too cool and they dry out before coloring. Medium-low, with time to preheat fully, gives me that perfect contrast of crisp exterior and creamy center.
My Secret Trick: I chill my filled but uncooked pupusas for ten minutes before griddling. The cold firms the cheese slightly, so it melts slower and stays contained while the crust develops. This one step eliminated my blowout problems completely. Finding the right pupusa recipe technique changed everything for me.
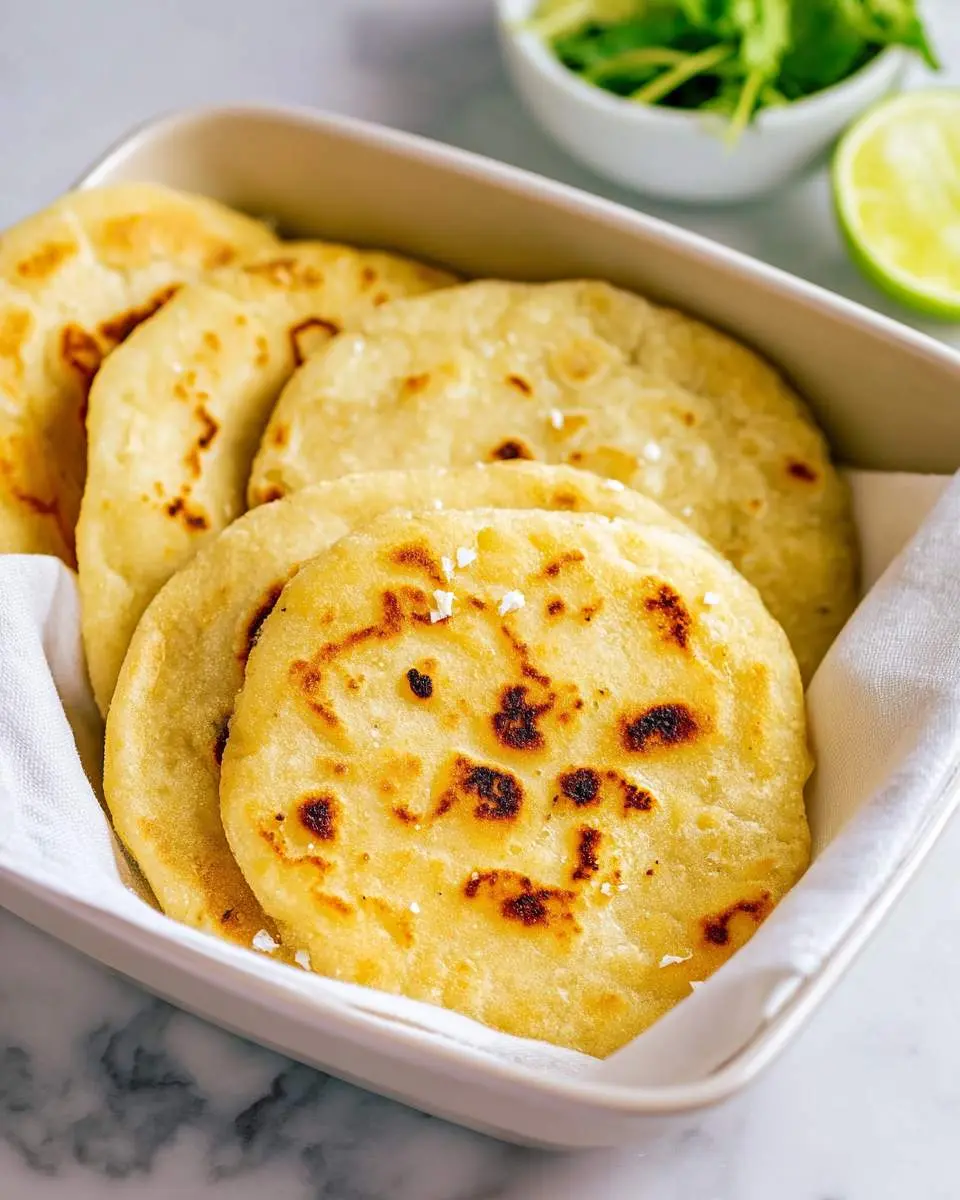
How to Store Pupusa Recipe
- Refrigerate cooked pupusas in an airtight container for up to 3 days, separated by parchment paper to prevent sticking
- Freeze uncooked pupusas on a baking sheet until solid, then transfer to freezer bags for up to 2 months
- Reheat refrigerated pupusas in a dry skillet over medium heat for 2-3 minutes per side until warmed through and crisp
- Reheat frozen pupusas directly from frozen, adding 2 extra minutes per side and covering briefly to help the center thaw
- Avoid microwaving, which makes the masa tough and rubbery instead of restoring that fresh texture
Why This Corn-Based Comfort Fits My Weeknight Rotation
The masa harina in this pupusa recipe brings more than tradition to my table. It is naturally gluten-free, which matters for friends who visit, and the combination of corn and beans creates a complete protein that keeps me satisfied without heaviness. The fermentation in curtido adds probiotics that my gut appreciates, making this feel like nourishment rather than indulgence. I can serve these knowing everyone leaves full and happy.
FAQs
Can I make the dough ahead of time?
You can mix the dough up to 2 hours ahead and keep it covered with a damp cloth at room temperature. Do not refrigerate raw masa, the cold changes the texture and makes it harder to seal properly. If it starts to dry out, work in a tablespoon of warm water to restore pliability.
What if I cannot find quesillo?
I use equal parts shredded low-moisture mozzarella and crumbled feta, about 6 ounces total for this batch. The mozzarella gives the stretch, the feta brings the salt and tang. Some people add a little cream cheese for extra richness, which works beautifully too.
Why did my filling leak out?
Almost always this means the seal was not complete or the disk was pressed too thin in spots. I check by holding my pupusa up to light before cooking, looking for thin areas. A small leak is normal and creates delicious crispy cheese edges, but big eruptions mean starting that one over.
Is curtido necessary?
Technically no, but I never skip it. The bright, vinegary crunch cuts through the rich cheese and corn in a way that transforms the whole experience. It takes ten minutes to make and keeps for weeks, becoming more complex as it sits. This pupusa recipe reaches its full potential only with that contrast.
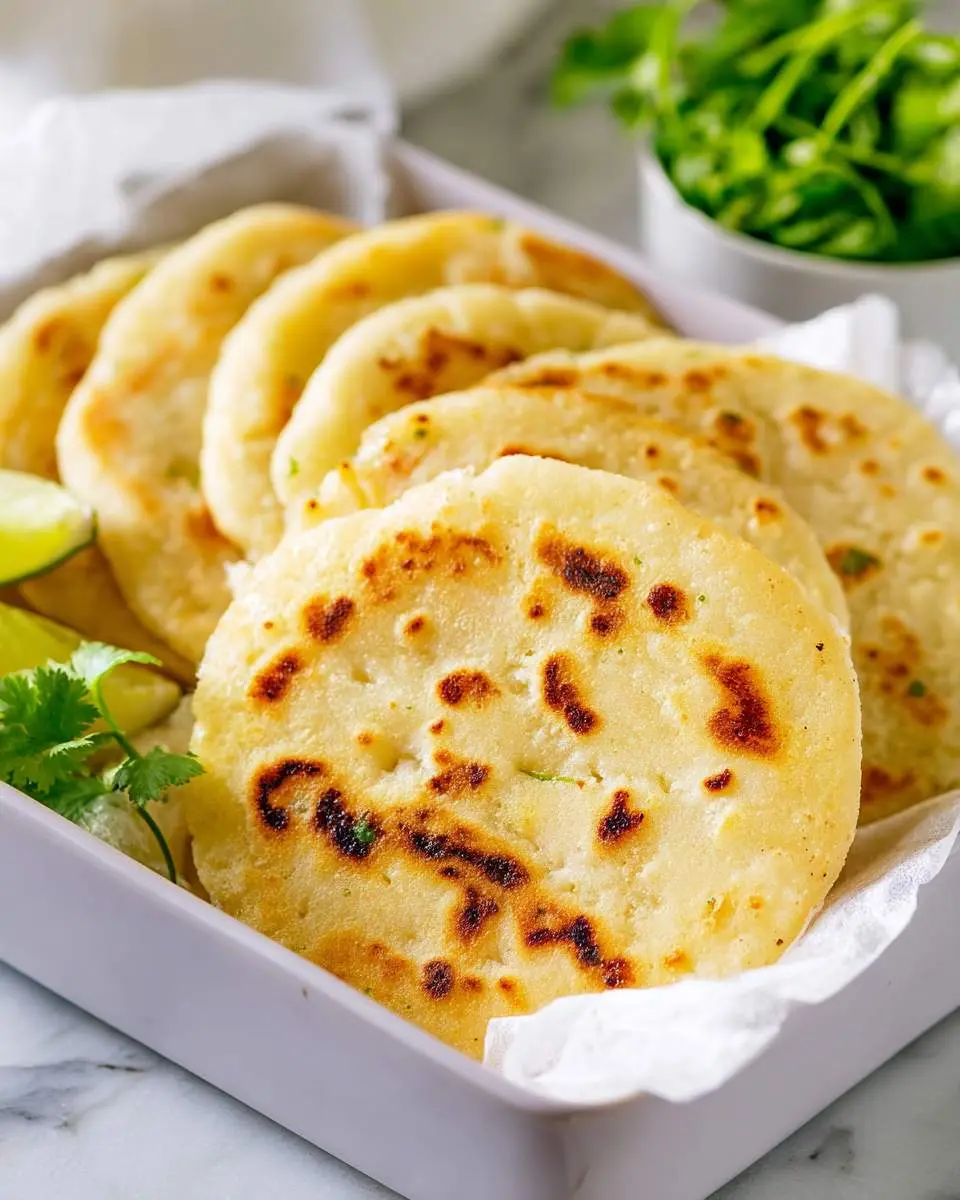

Pupusas
Ingredients
Equipment
Method
Notes
Conclusion
I hope you find the same joy in pressing these corn pockets that I do. There is pride in mastering a technique that felt foreign at first, in feeding people something that makes them pause and smile. This pupusa recipe has become my signature when friends visit, the dish that turns dinner into an occasion. For more handmade bread inspiration, explore my naan bread next.
Follow us on Social Media : Pinterest