I remember those lazy summer afternoons, the sun streaming in, and the sheer delight of a colorful treat. This year, my kitchen got an upgrade with my new Ninja Creami, and it immediately sparked an idea: why not capture that same vibrant joy in a homemade batch of Unicorn Ice Cream?
It felt like stepping back into childhood, dreaming up something truly magical. The idea of transforming simple ingredients into something so whimsical and fun was just too tempting to resist.
This recipe really embraces that playful spirit, turning an ordinary dessert into an extraordinary experience, much like my adventure with cotton candy ice cream.
What You Need to Make This Recipe
For this enchanting Unicorn Ice Cream, a few key players make all the difference. We’re starting with a solid base like milk and cream, which gives us that essential silky texture for the Ninja Creami to work its magic. Then, a touch of cream cheese adds an incredible richness and helps prevent any iciness, making each spoonful delightfully smooth, similar to the creamy goodness of my Ninja Creami vanilla ice cream base.
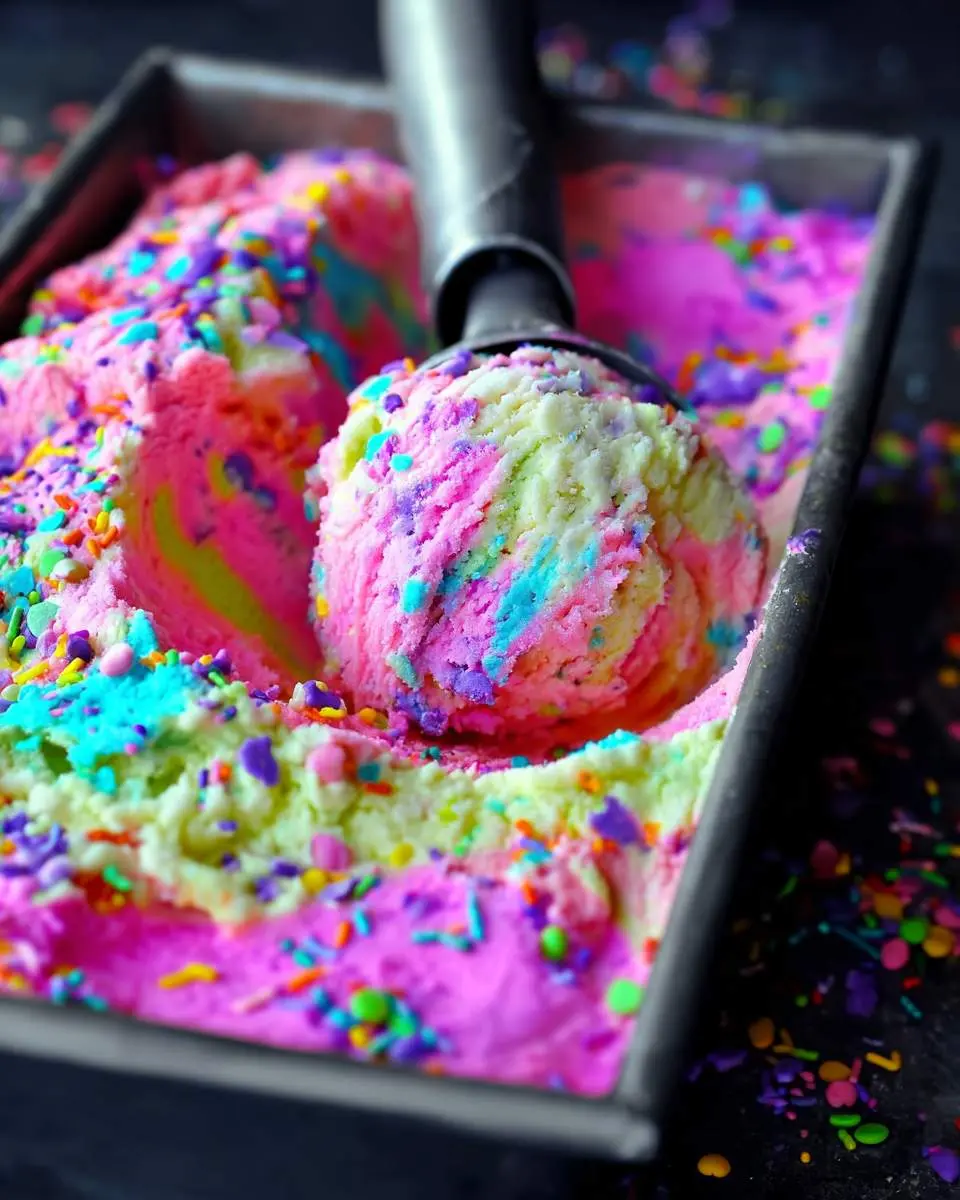
How to Make Unicorn Ice Cream
The process truly comes alive once you start adding the colors. After blending my base ingredients, I divide them into separate containers, feeling like a mad scientist in my kitchen.
Then, just a few drops of food coloring transform each batch into a vibrant canvas, ready for freezing. The real magic happens in the Ninja Creami; it’s so satisfying to hear it churn through the frozen blocks, turning them into soft, fluffy ice cream.
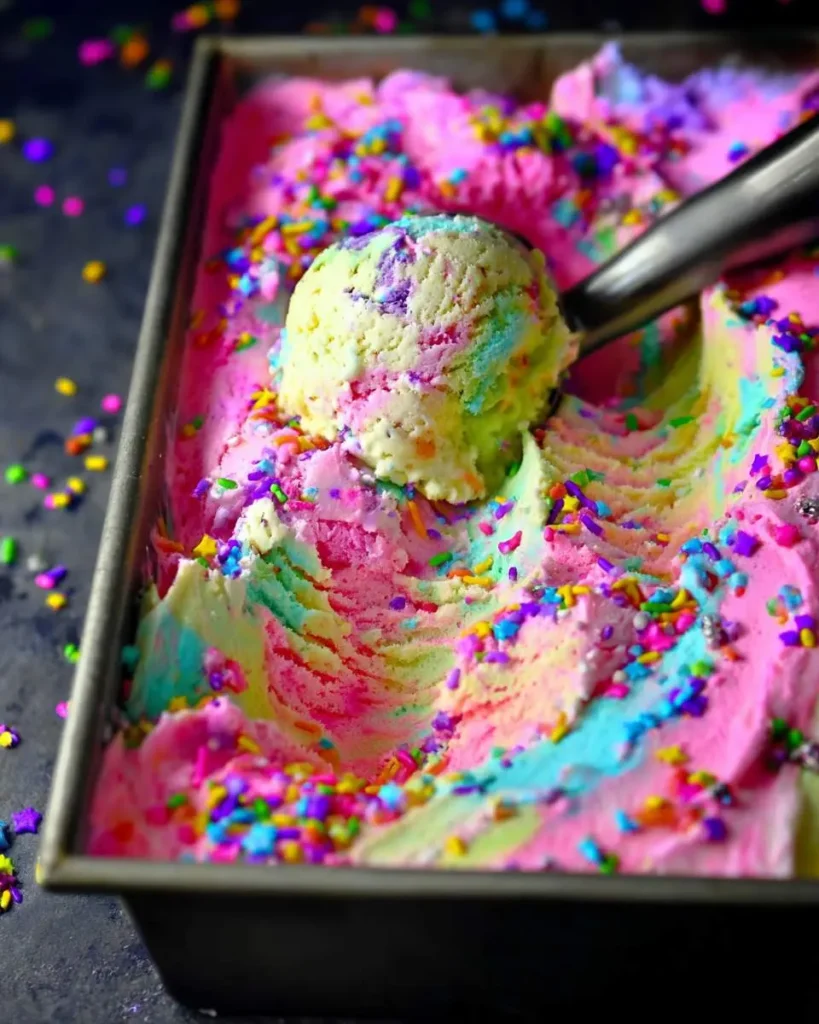
Once each color is perfectly churned, I layer them gently into a final container, creating those beautiful swirls that give this dessert its signature look, much like the layers in my Ninja Creami cake batter ice cream.
Pro Tips
Getting vibrant colors really depends on using gel food coloring over liquid; it’s so much more concentrated and won’t dilute your base for the best results.
Don’t be afraid to give each individual color base a full 24 hours to freeze solid before creaming it – this ensures the best, non-icy texture for your dessert.
My Secret Trick: After spinning each color, let it soften for just 5-10 minutes at room temperature before layering. This makes the layers much easier to swirl without them immediately blending into a muddy mess, giving you beautiful distinct ribbons.
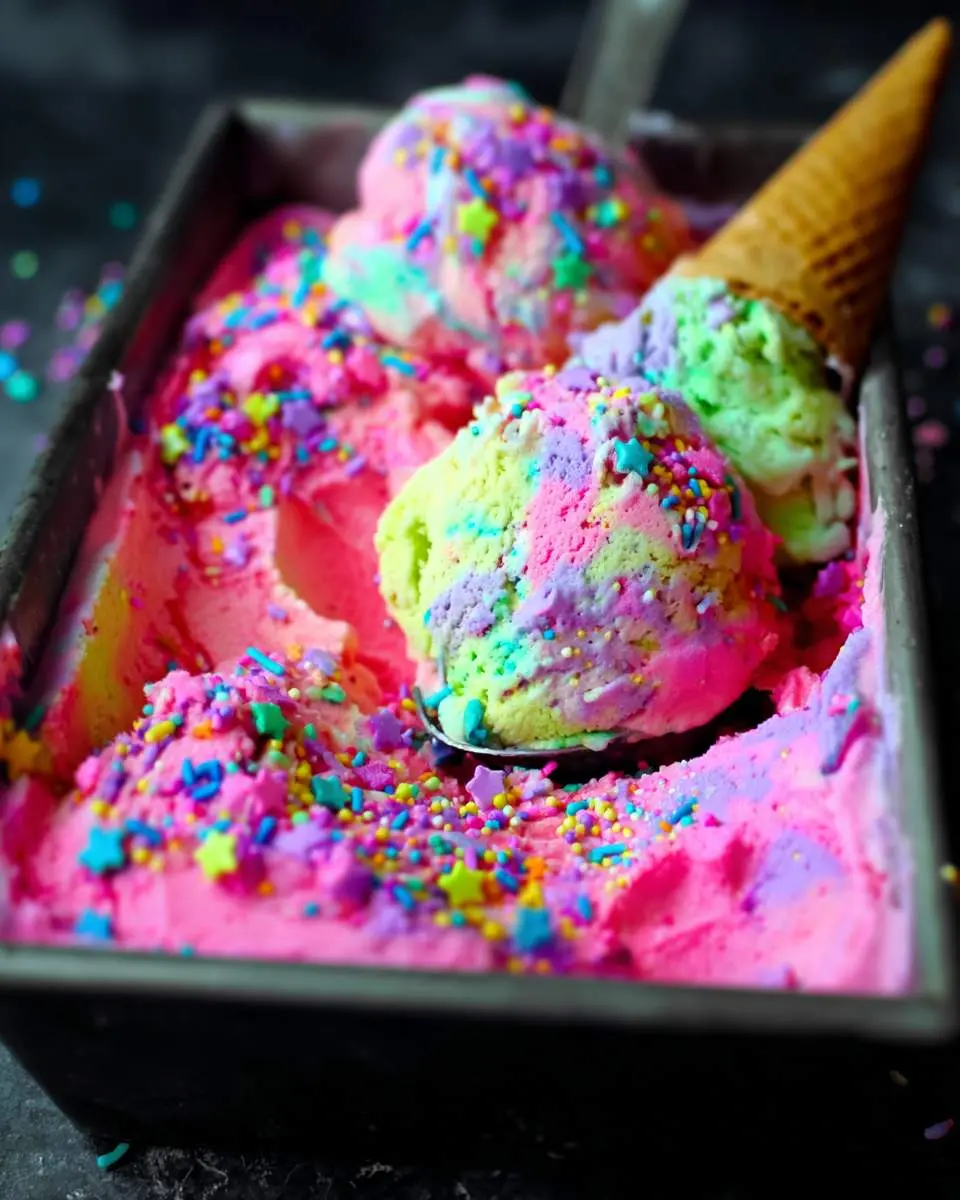
How to Store Unicorn Ice Cream
- Store your homemade Unicorn Ice Cream in an airtight, freezer-safe container to prevent freezer burn and maintain its creamy texture.
- It will keep beautifully in the freezer for up to 2-3 weeks, though I doubt it will last that long in my house!
- For the best serving texture, let it sit out at room temperature for 5-10 minutes before scooping, allowing it to soften slightly.
Nutritional Benefits
While it’s definitely a fun treat, this colorful dessert offers a bit of calcium from the milk and cream base. The small amount of dairy provides essential nutrients, making it a delightful way to enjoy a cool snack.
FAQs
Can I use natural food colorings for Unicorn Ice Cream?
Yes, you can absolutely use natural food colorings! You might need to use a bit more to achieve the desired vibrancy, and the shades may be slightly softer than those achieved with artificial gels, but they work beautifully for this recipe.
What if my ice cream turns out too hard after freezing?
If your ice cream is too hard straight from the freezer, don’t worry! Just let it sit at room temperature for about 10-15 minutes before scooping. Alternatively, if you have a Ninja Creami, you can re-spin it to achieve a softer texture.
Can I add mix-ins to this recipe?
Of course! Once the ice cream is churned and layered, you can gently fold in sprinkles, mini marshmallows, or even white chocolate chips before the final freeze. Just be mindful not to overmix to maintain the distinct colors.
How do I get those distinct swirled colors?
The trick to distinct swirls is to layer each colored ice cream base very gently into your final container. Use a spoon or spatula to dollop spoonfuls of different colors side-by-side, then swirl lightly with a knife or skewer for a beautiful marble effect, ensuring the colors don’t completely blend.
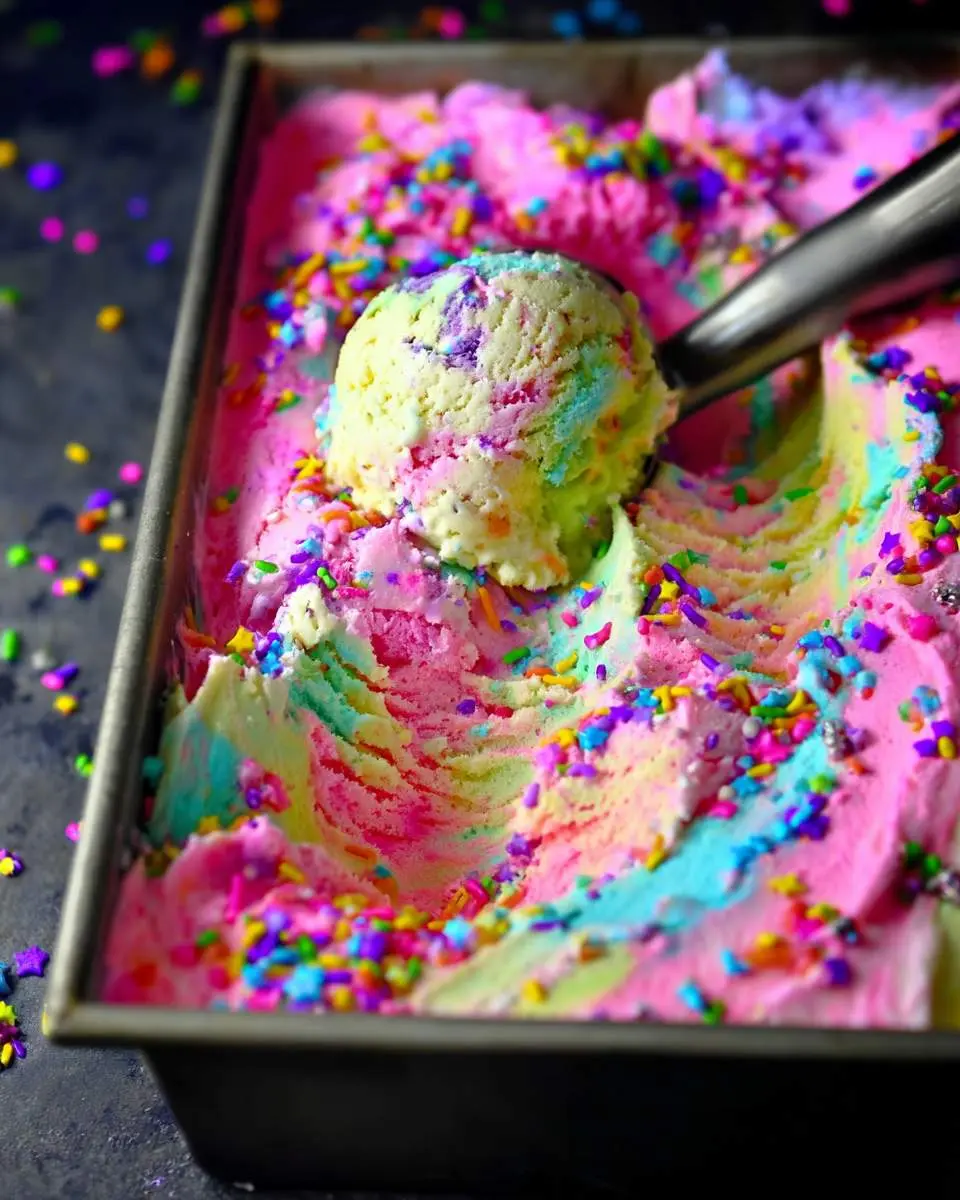

Unicorn Ice Cream
Ingredients
Equipment
Method
Notes
Ensure your heavy cream is very cold before you start whipping it; this helps it whip up faster and achieve those perfect stiff peaks, resulting in a lighter, airier ice cream.
Get creative with your colors and mix-ins! Feel free to add a touch of edible glitter, mini marshmallows, or even different candy bits to personalize your unicorn creation.
Conclusion
Creating this Unicorn Ice Cream was such a joyous experience, and honestly, the result exceeded all my expectations. It’s more than just a dessert; it’s a burst of happiness in every scoop, reminding me of the fun I had making my Ninja Creami cookies and cream. I truly hope you try it and let this little bit of magic brighten your day!